EDITING PHOTOS WITH LANDSCAPE PRO
By Roman Martin
I recently got a license from Anthropics Technology — the British makers of Landscape Pro — to test their software. Landscape Pro software allows photographers to edit their landscape photos with the help of AI technology, thereby making editing easier and faster. In exchange for the free license, I agreed to post a review of the software for our readers. This review is my personal opinion of how the software works, and not intended to serve as a full guide on how to use it for editing. Editing photos with Landscape Pro is simply one more option that we can choose from. Let’s begin.
From Portrait Pro to Landscape Pro
Those who follow my work, or who have travelled with me, would often suggest that I am a landscape photographer. But I only consider it to be a part of my portfolio. My work with Photo Workshop Adventures has broadened my view to include a wide variety of subjects, of which landscapes are just a part of a larger body of work.
I was familiar with Anthropics Technology, because I already use one of their other products called Portrait Pro. (See? Not just landscapes!) Portrait Pro has quickly become a standard for image editing for faces and bodies. Several other similar softwares have since come out that emulates what this software does, but not as well.
When Anthropics released Landscape Pro, I admit I was skeptical. I doubted that AI software would be able to edit landscape photos in a suitable manner that I would be happy with. But after many promotional plugs about the software in their newsletter, I felt that perhaps it was best if I tried it out for myself. I wrote to the company, and they responded immediately with a very kind offer of a free license for us to try it out.
Where to Begin?
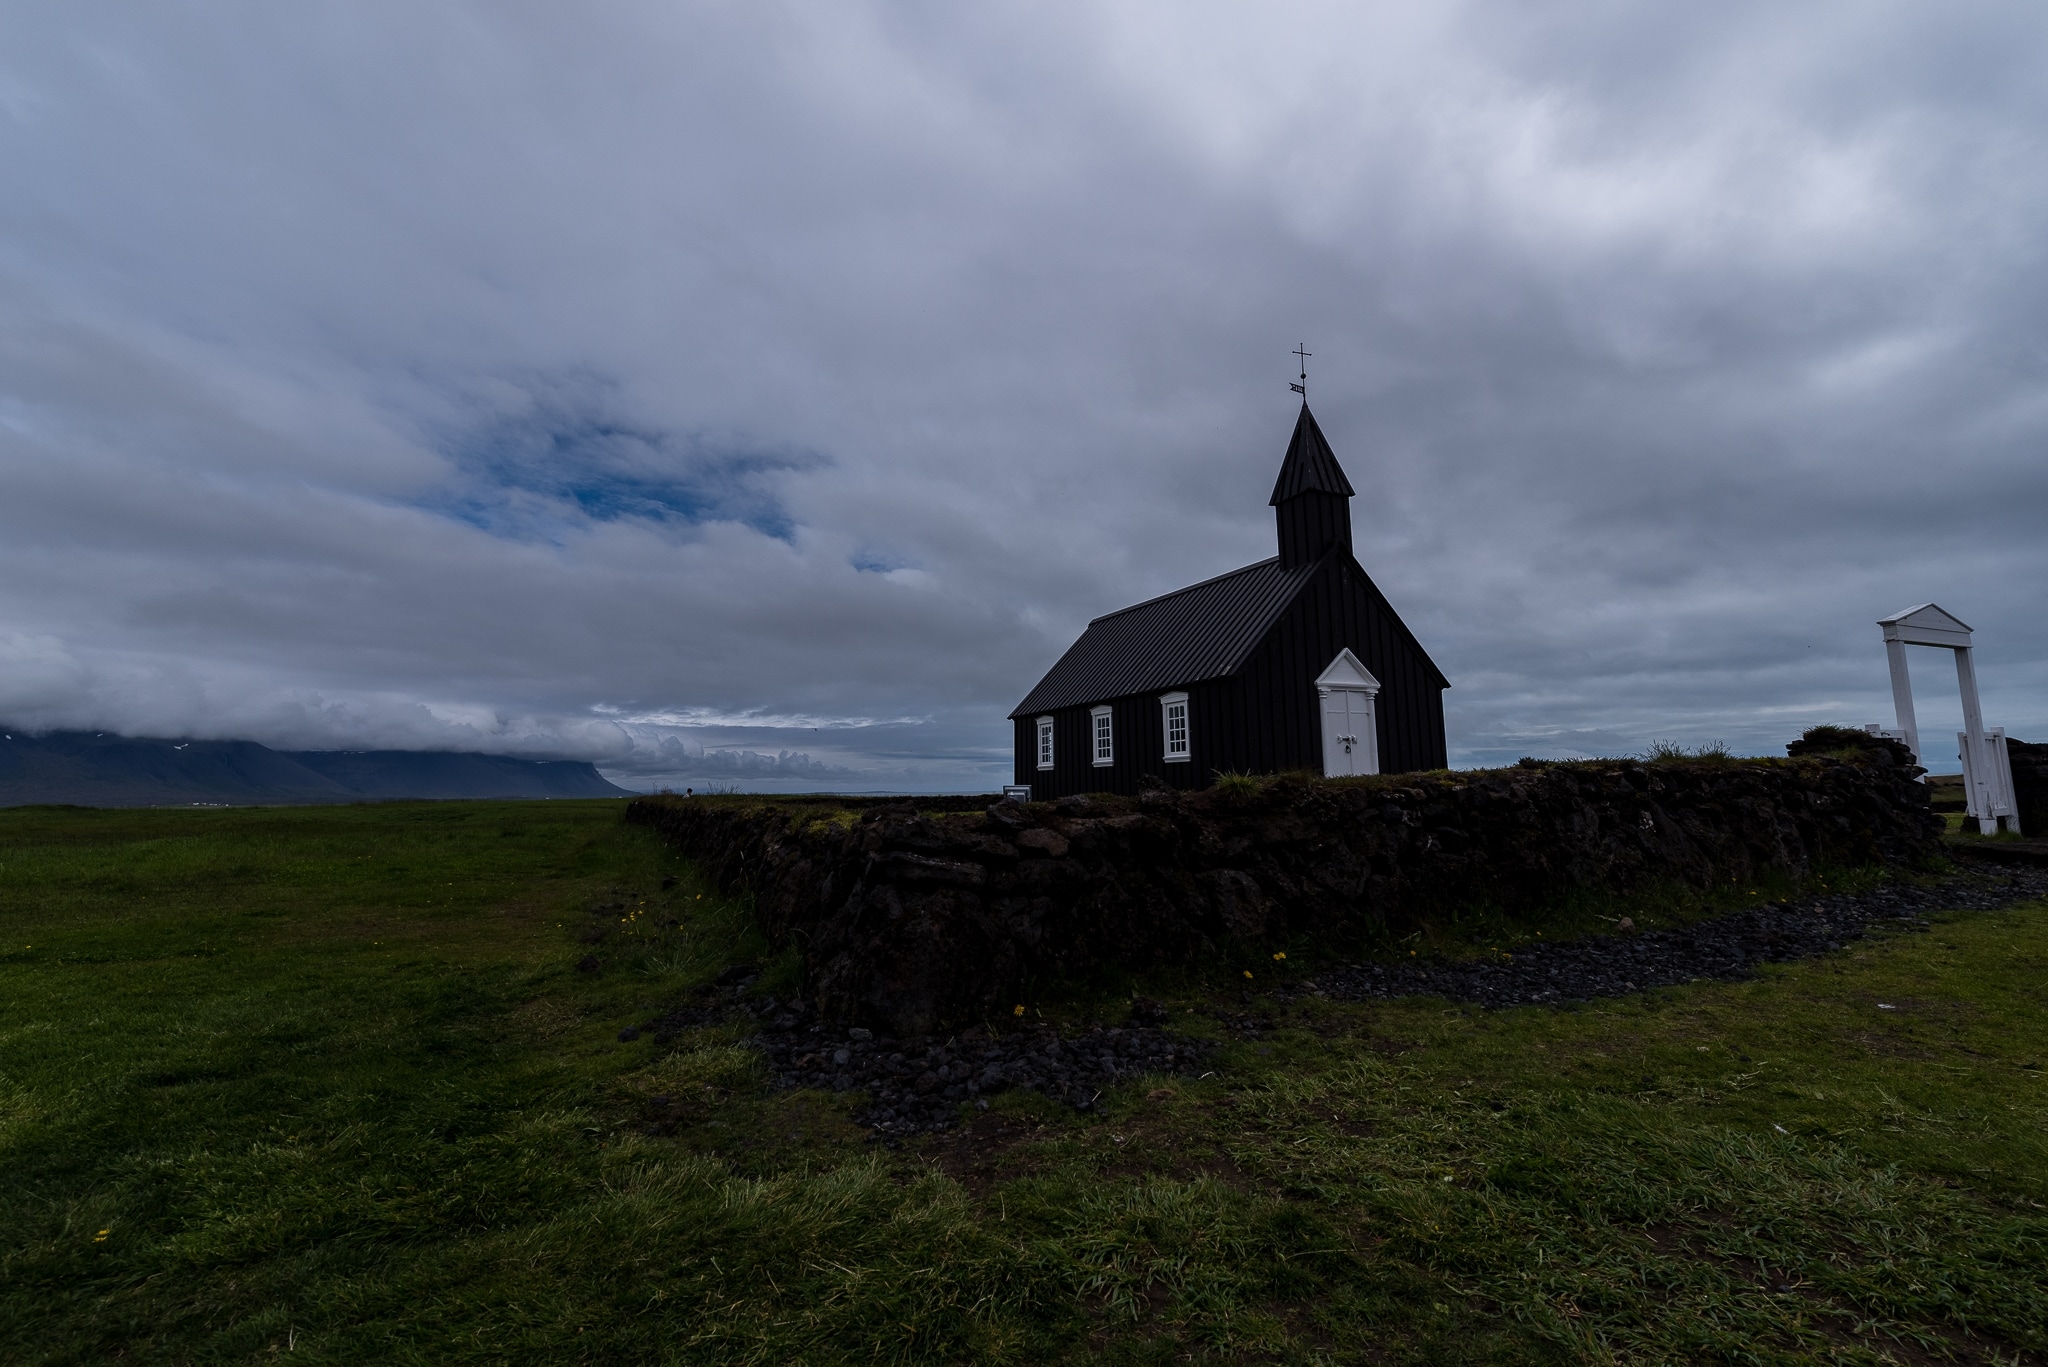
I thought the best thing to do first, would be to re-edit some of my older photos that I was already happy with. Also, I was in Iceland recently, and returned with lots of landscape photos with flat light from the rainy days. The skies at that time were especially drab, with diffused lighting. It seemed to be the perfect opportunity to try with Landscape Pro.
As I have already mentioned, this review will not be an in-depth explanation of my workflow with the software. Rather, it will just describe the highlights of what I experienced, along with my personal impressions of the software. If there is any interest, perhaps we can arrange an online course about workflow, in the future.
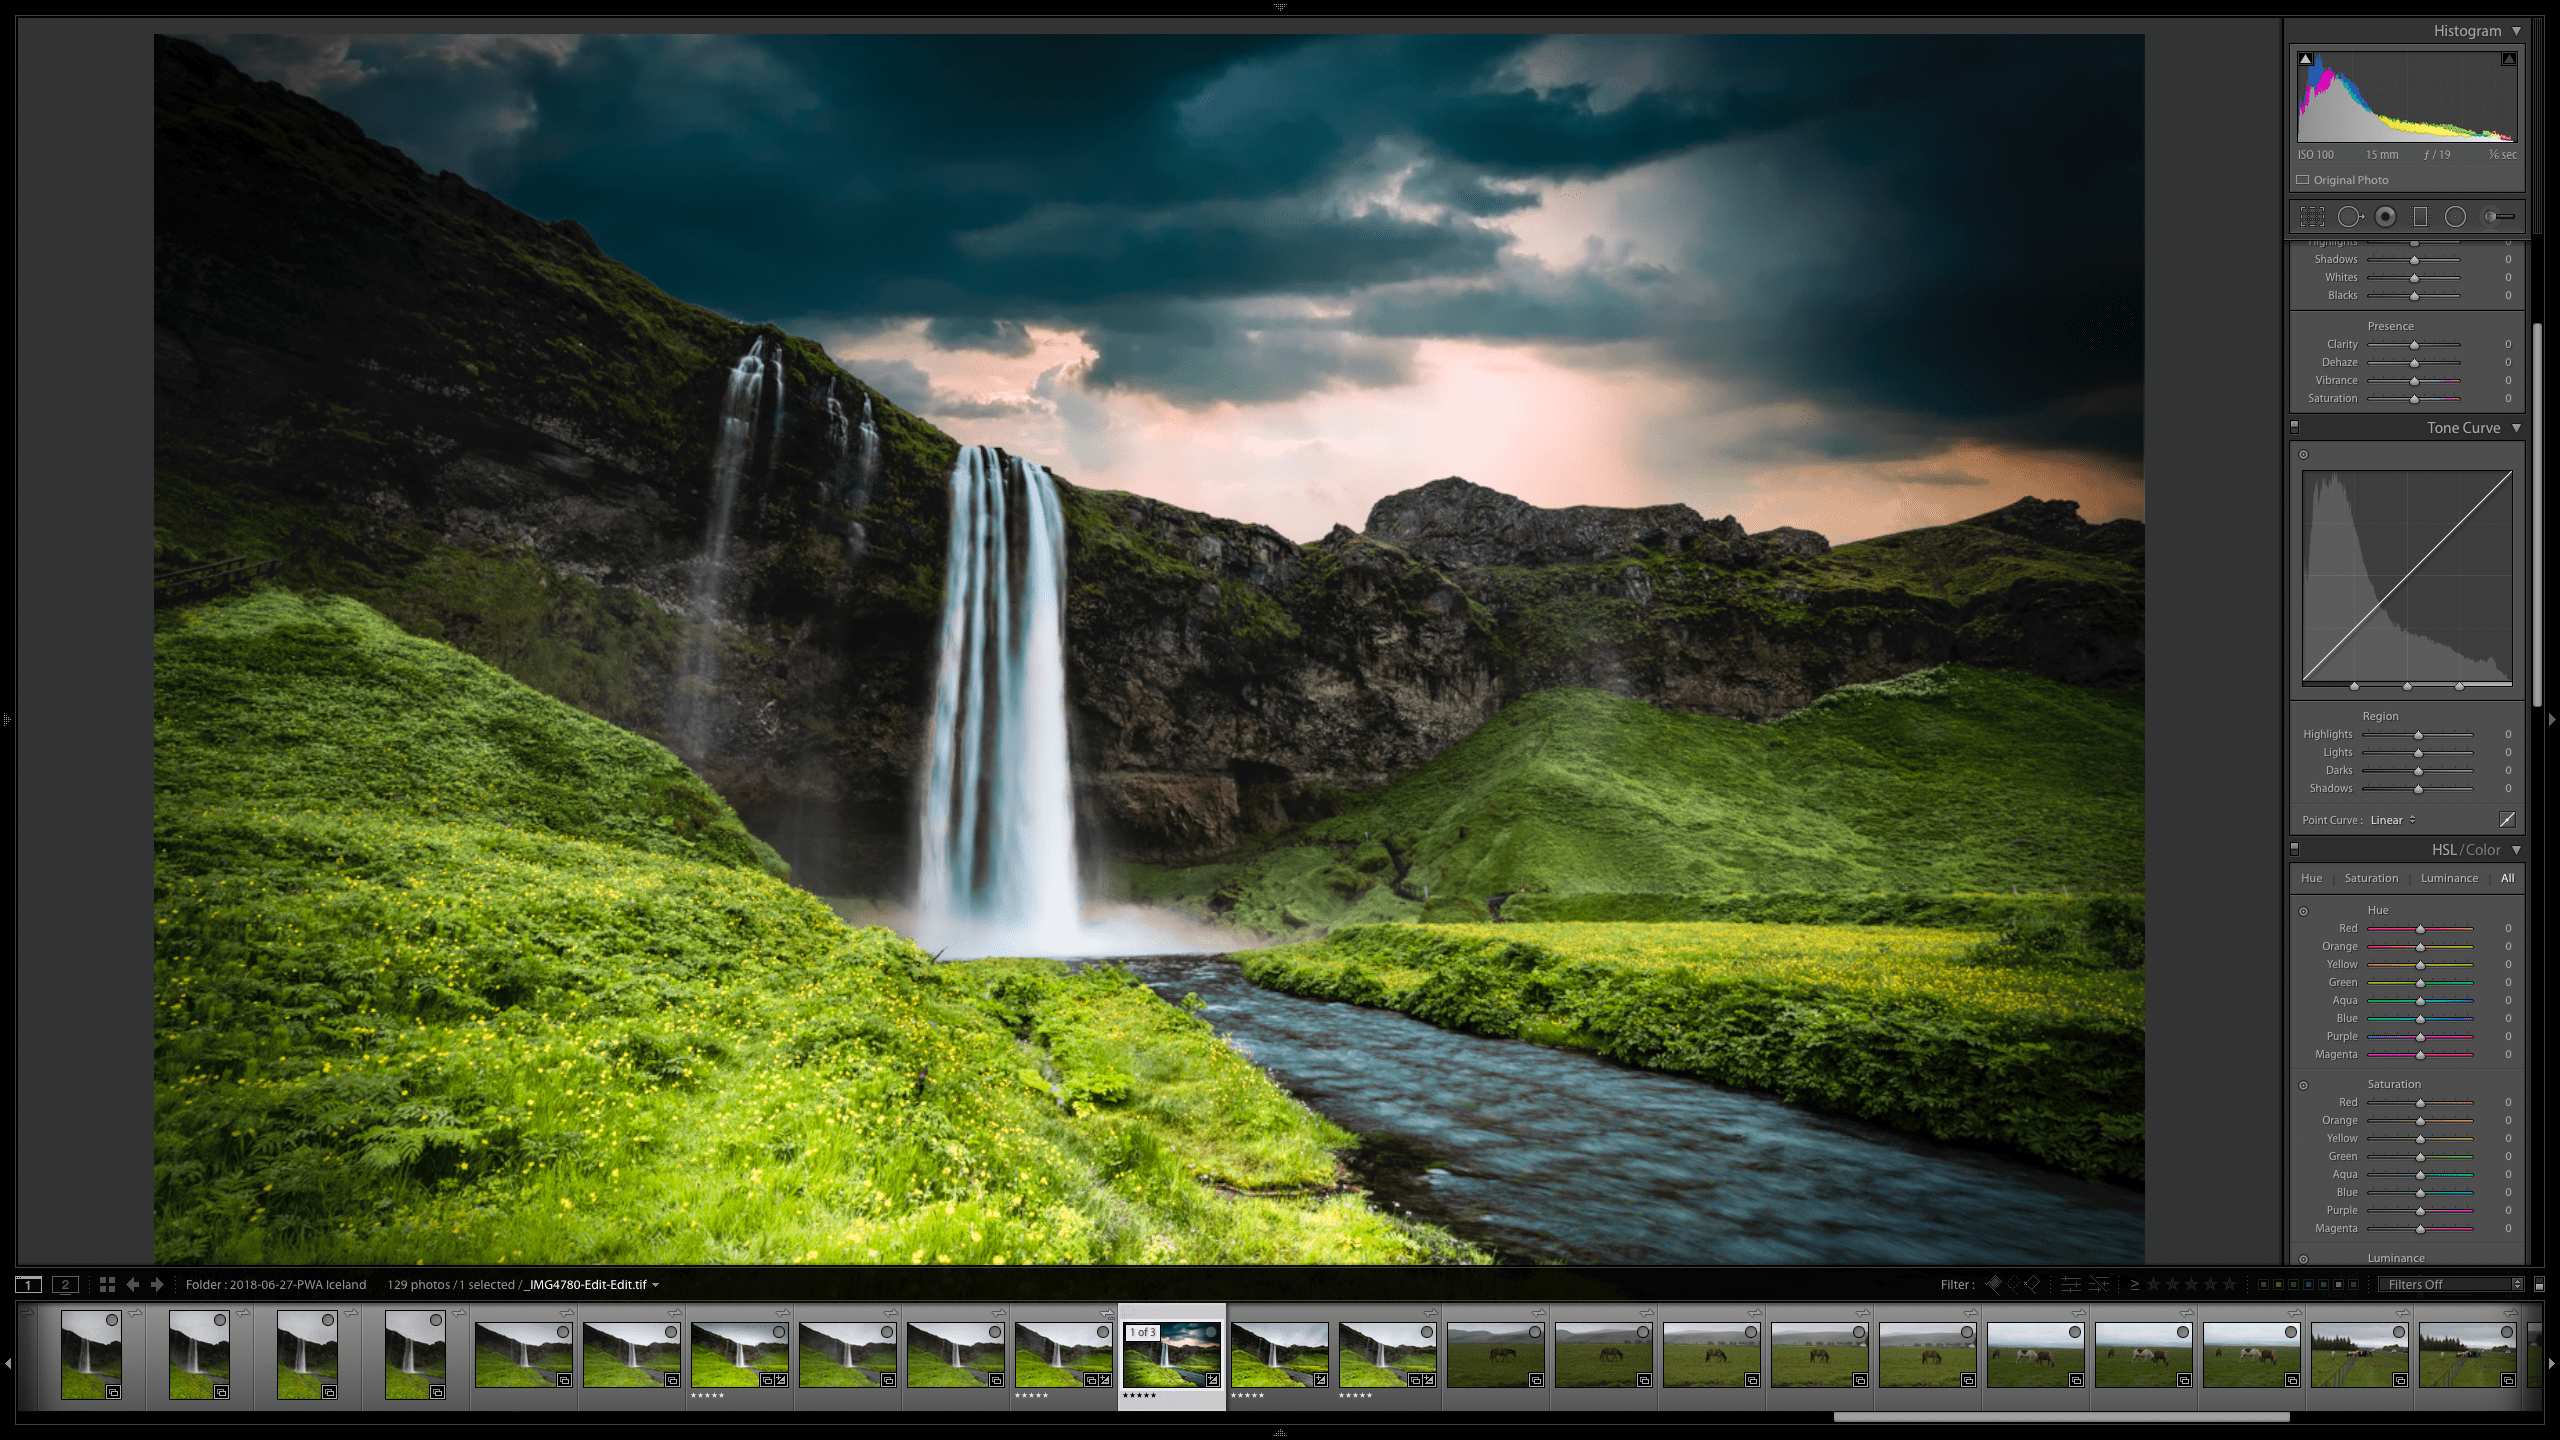
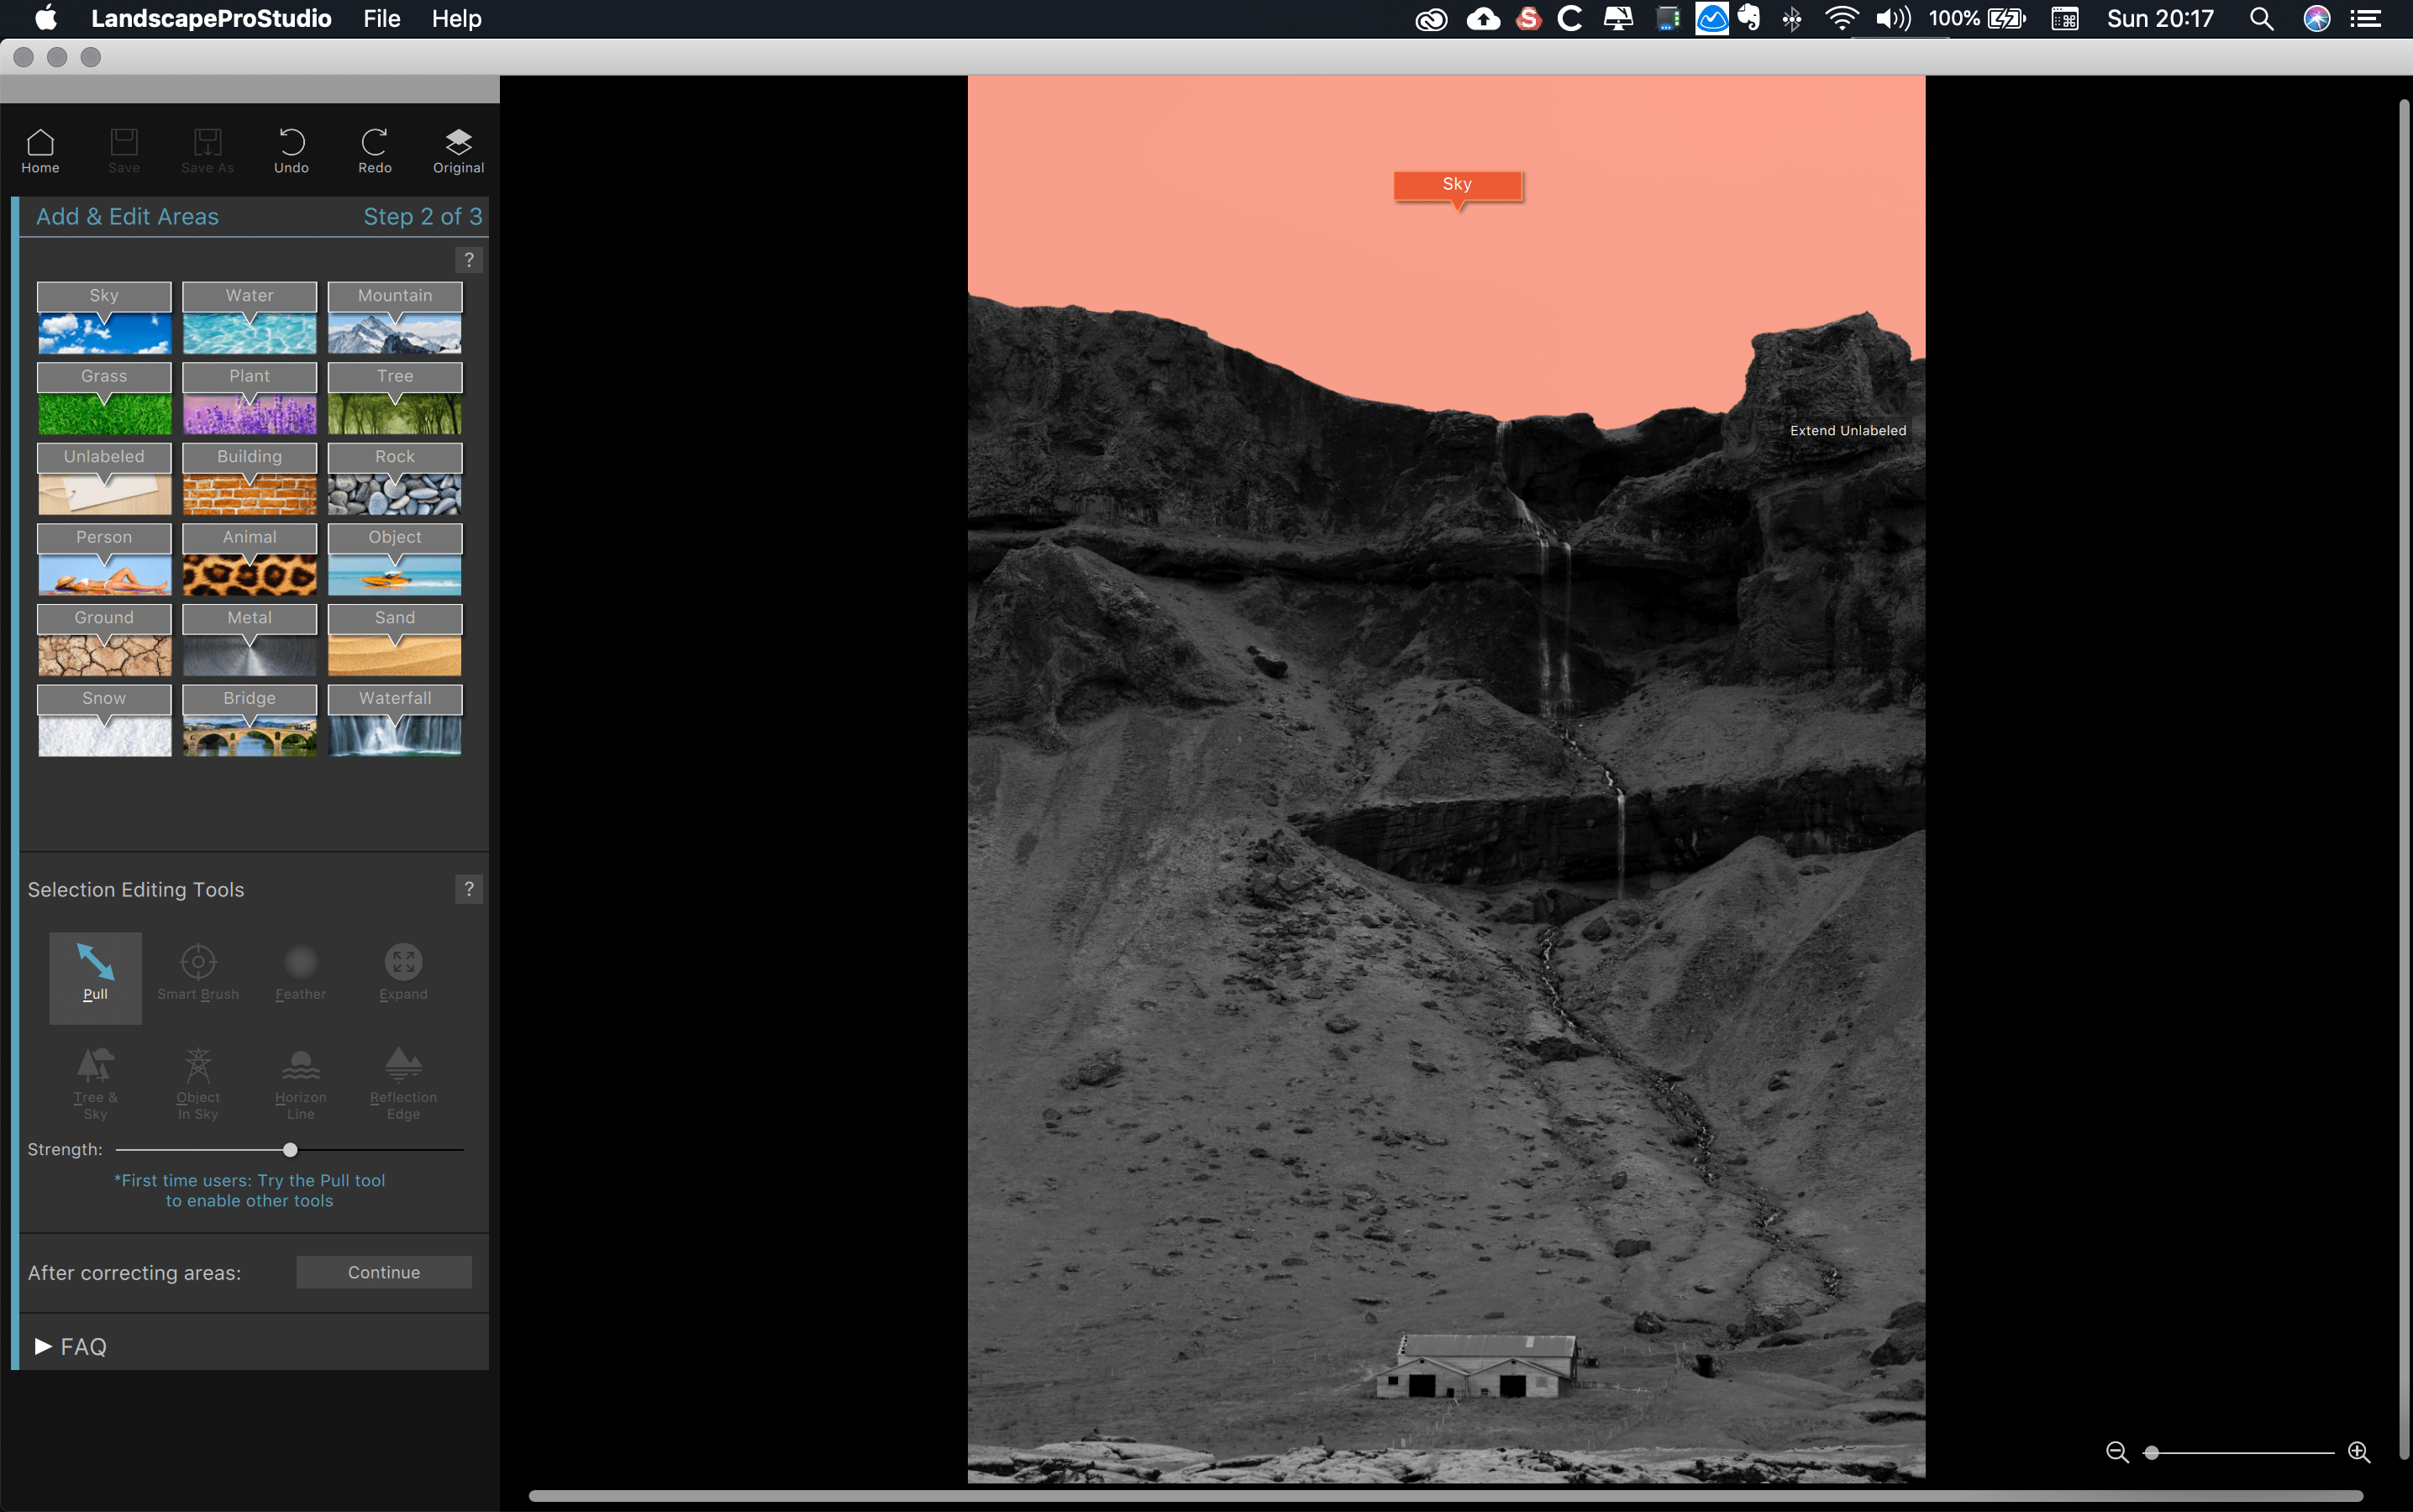
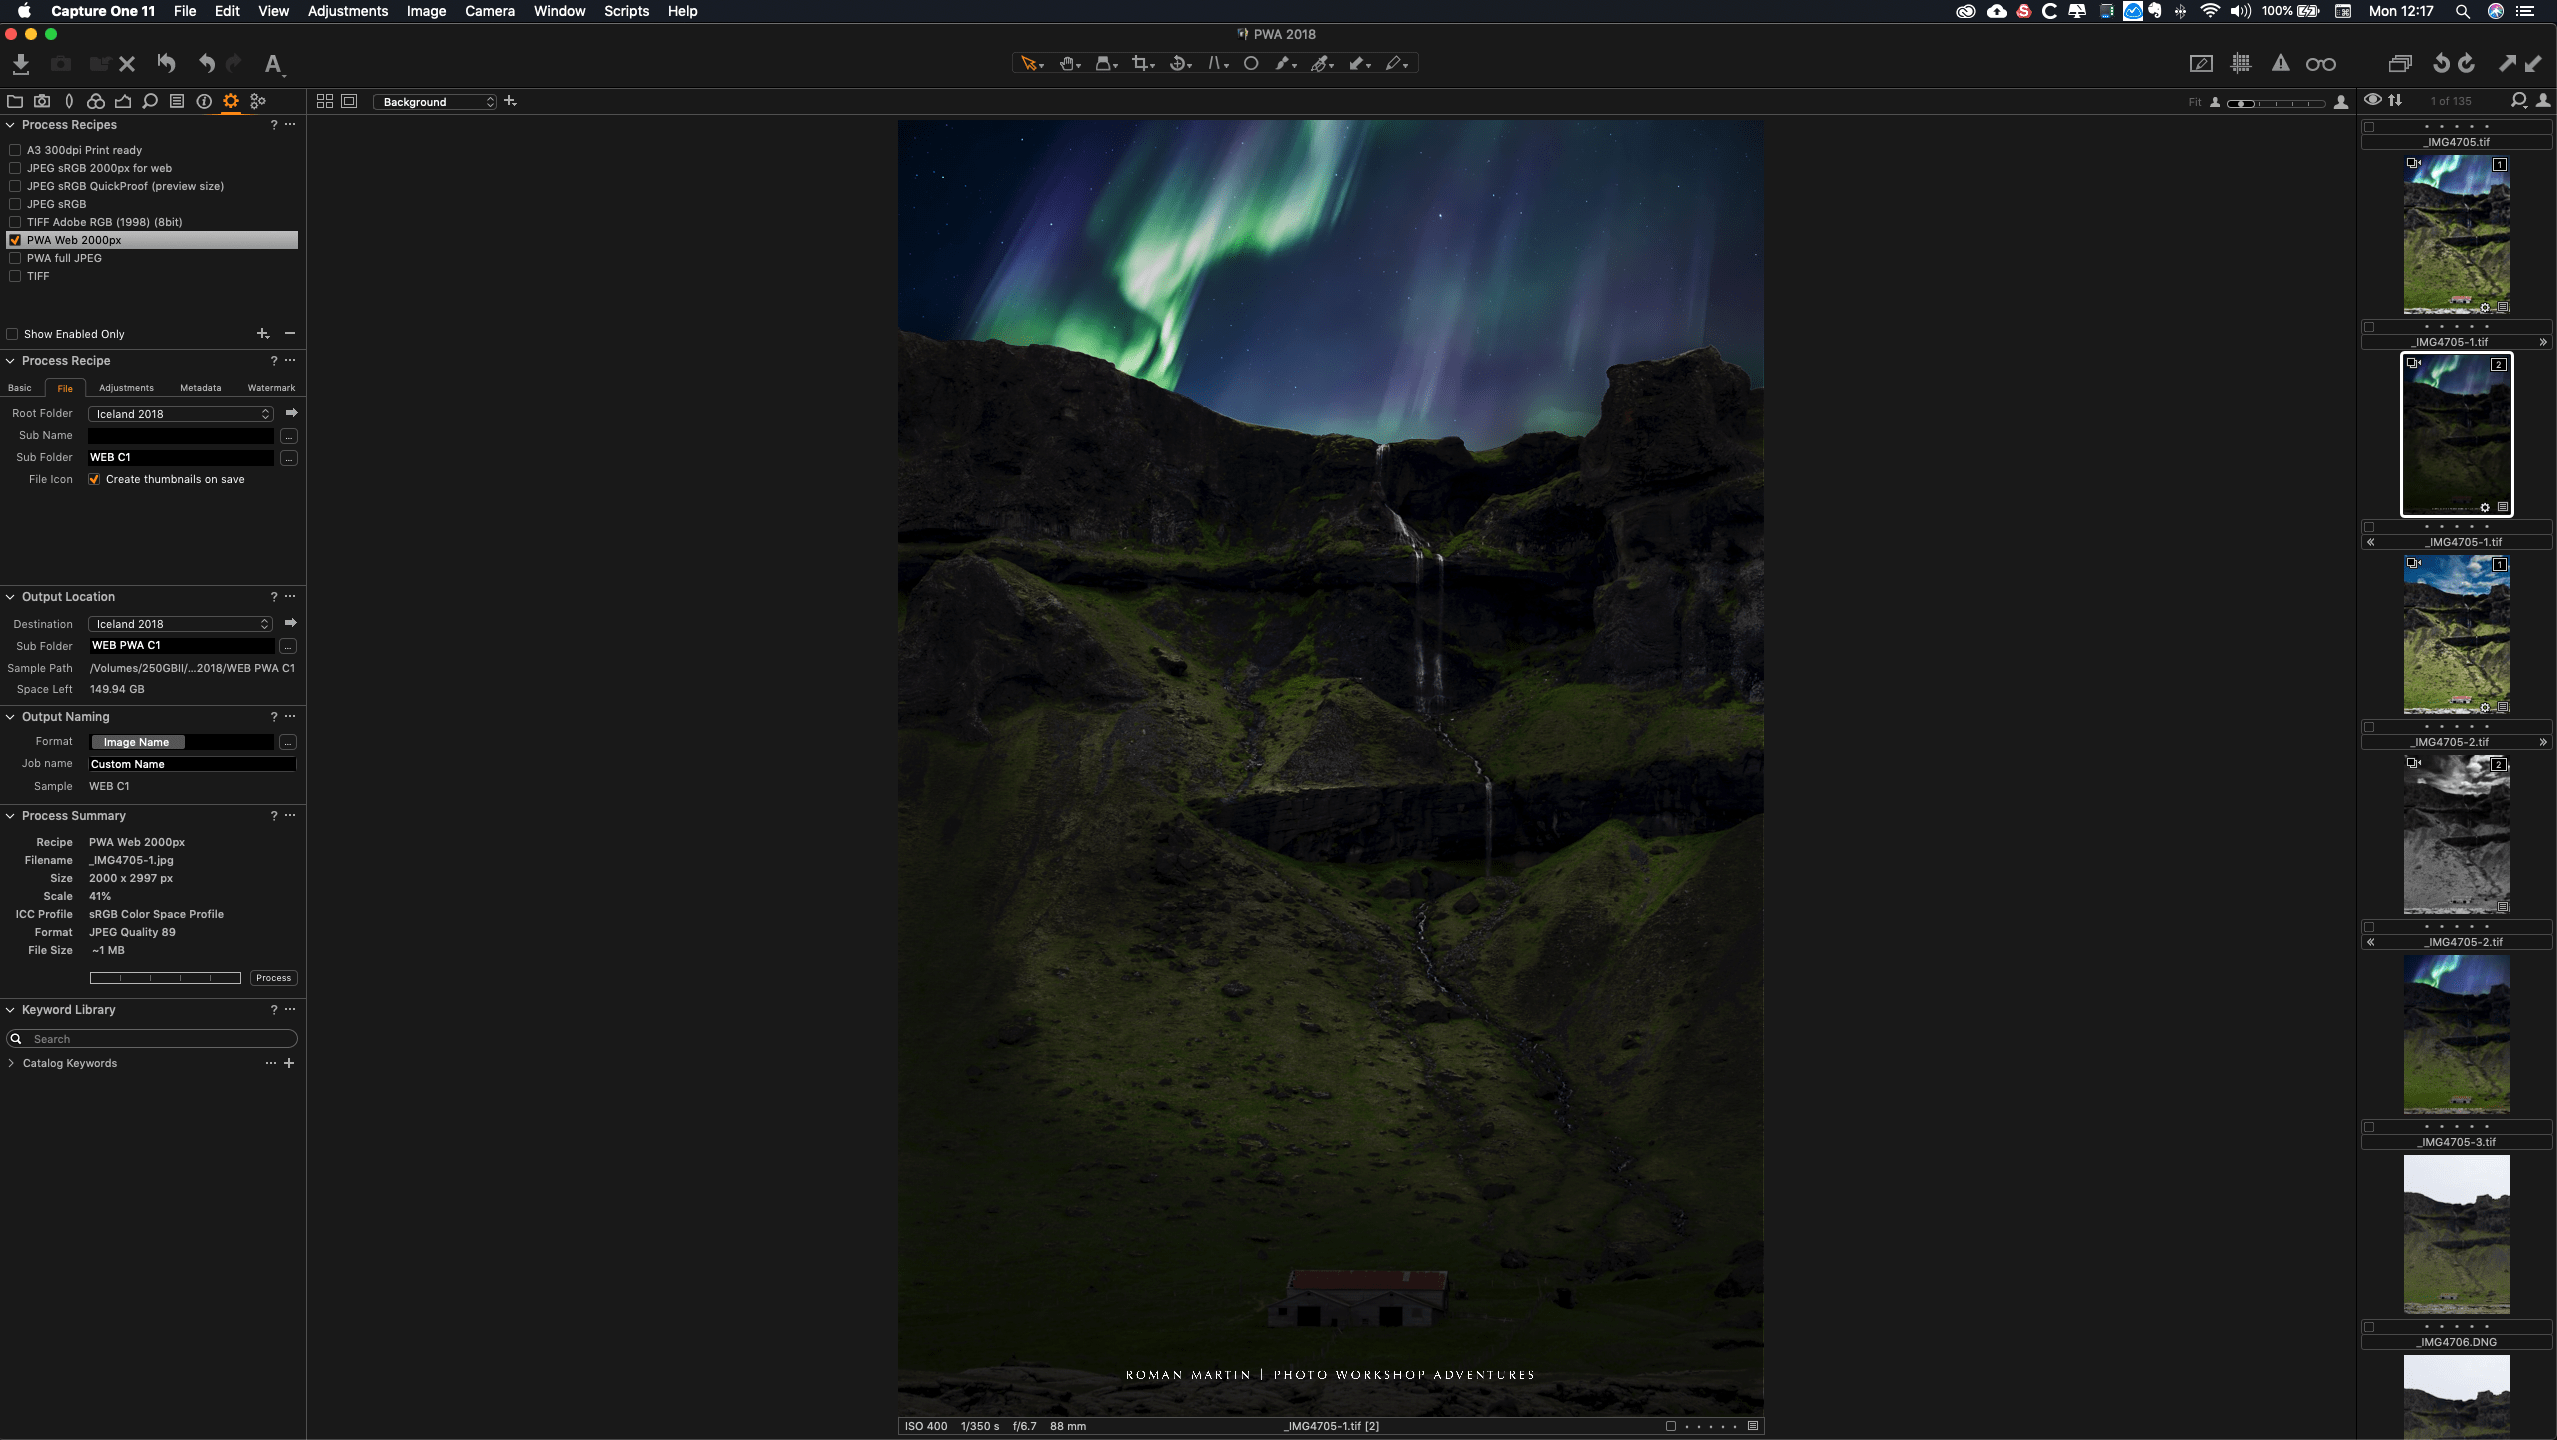
To begin with, it’s good to know that Landscape Pro can run as a standalone product, or as a plugin to Lightroom, Photoshop or Capture 1 (among others). I was using the plugin version, which allowed me to transfer my original RAW image — as a TIFF — directly into Landscape Pro.
There are several ways you can transfer the images, and the instructions that come with the software explains this very well. The point is — you don’t need to abandon any of the software you already know and love, if you decide to use Landscape Pro as part of your workflow. It will work seamlessly alongside it.
New Tools, and How to Use Them
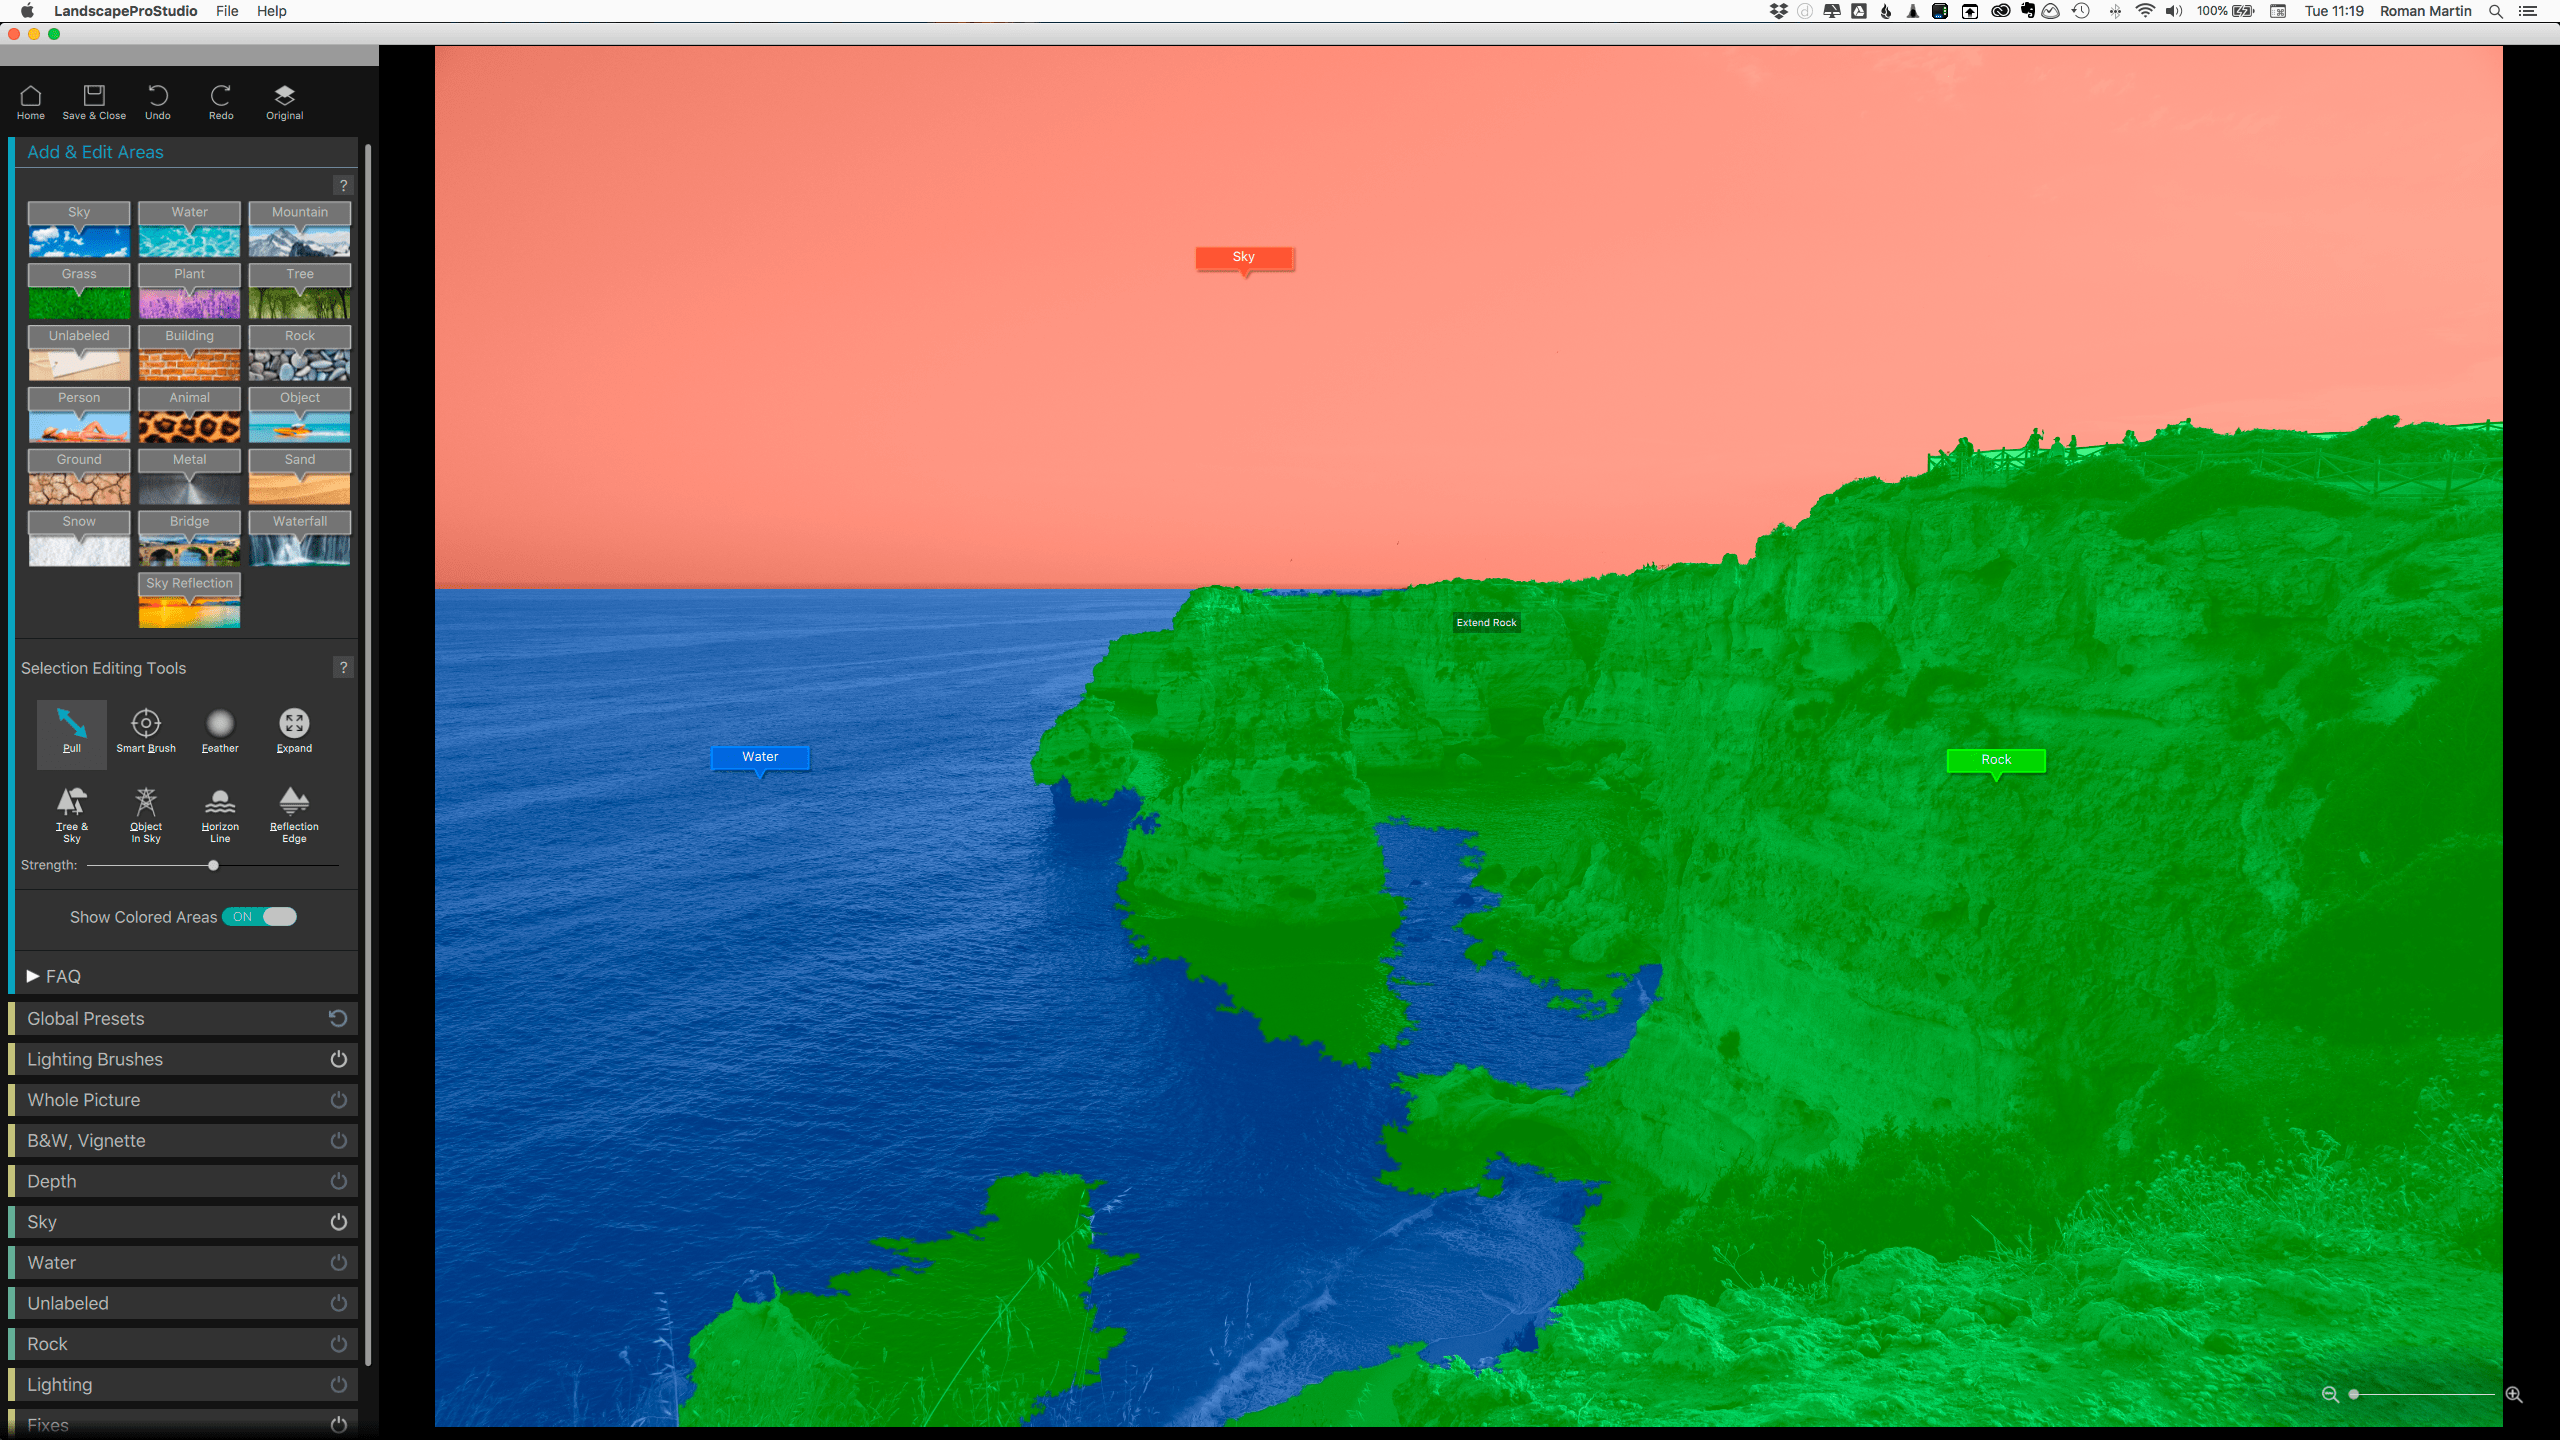
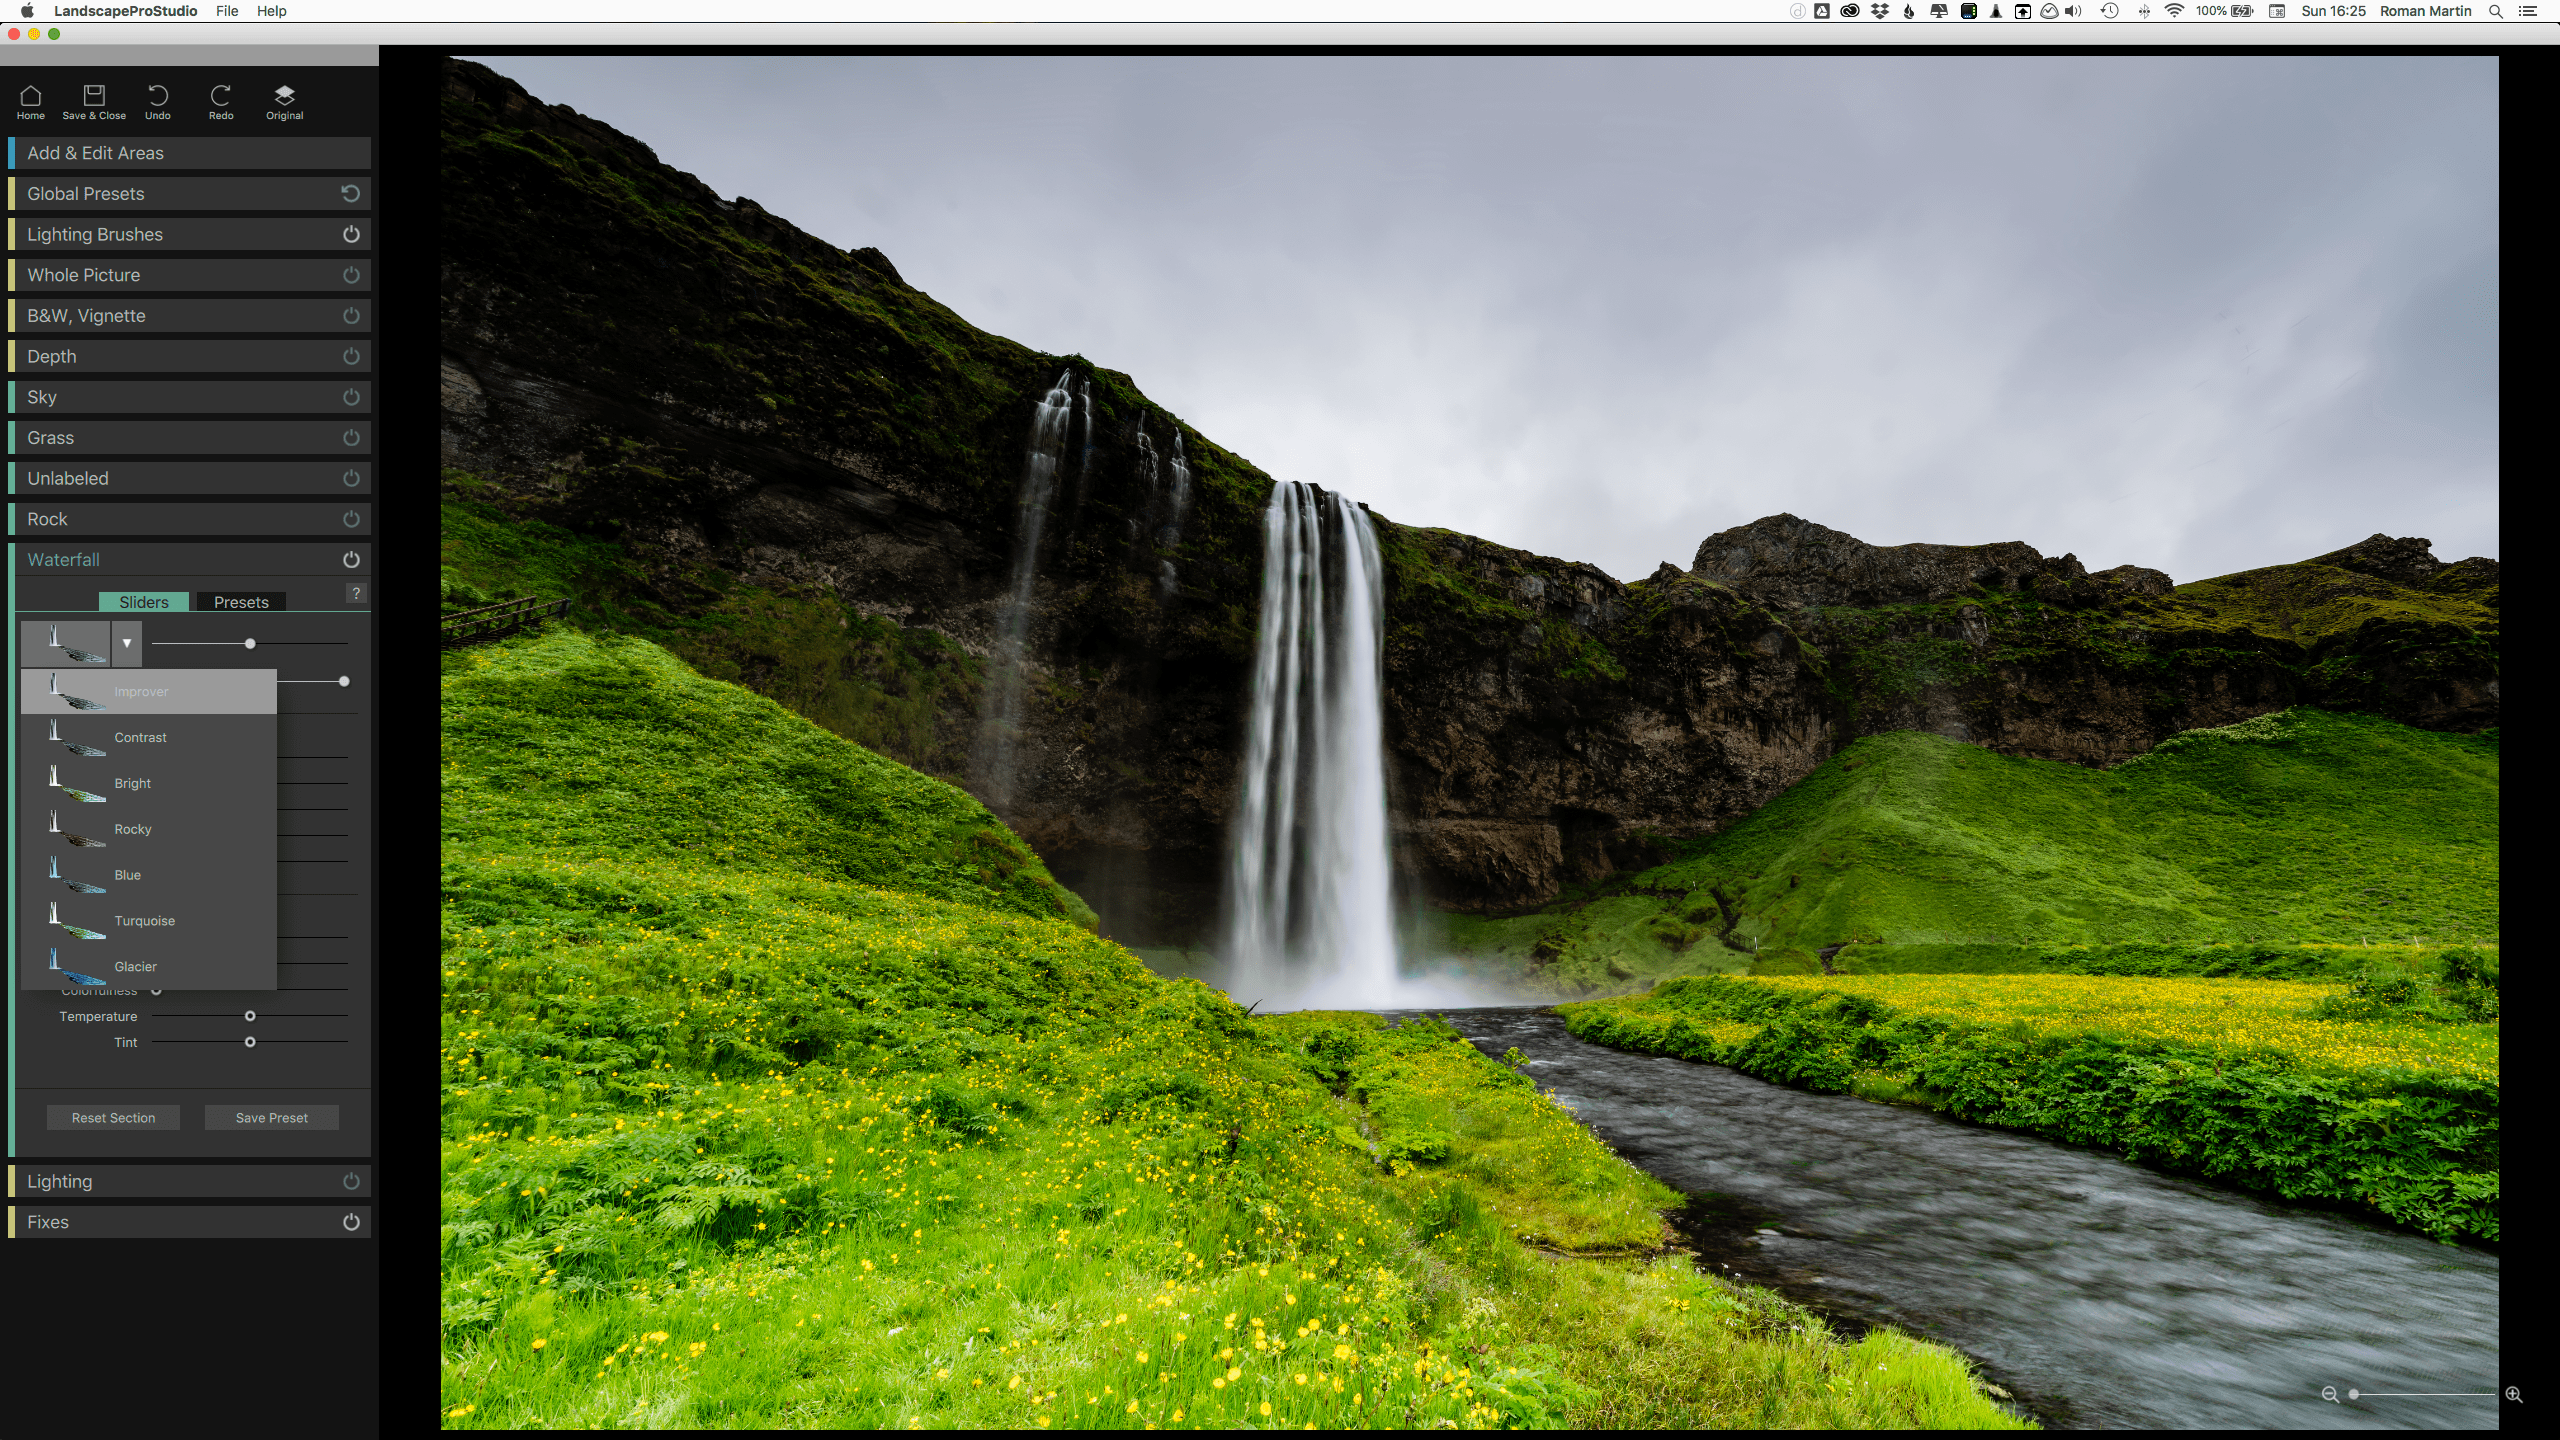
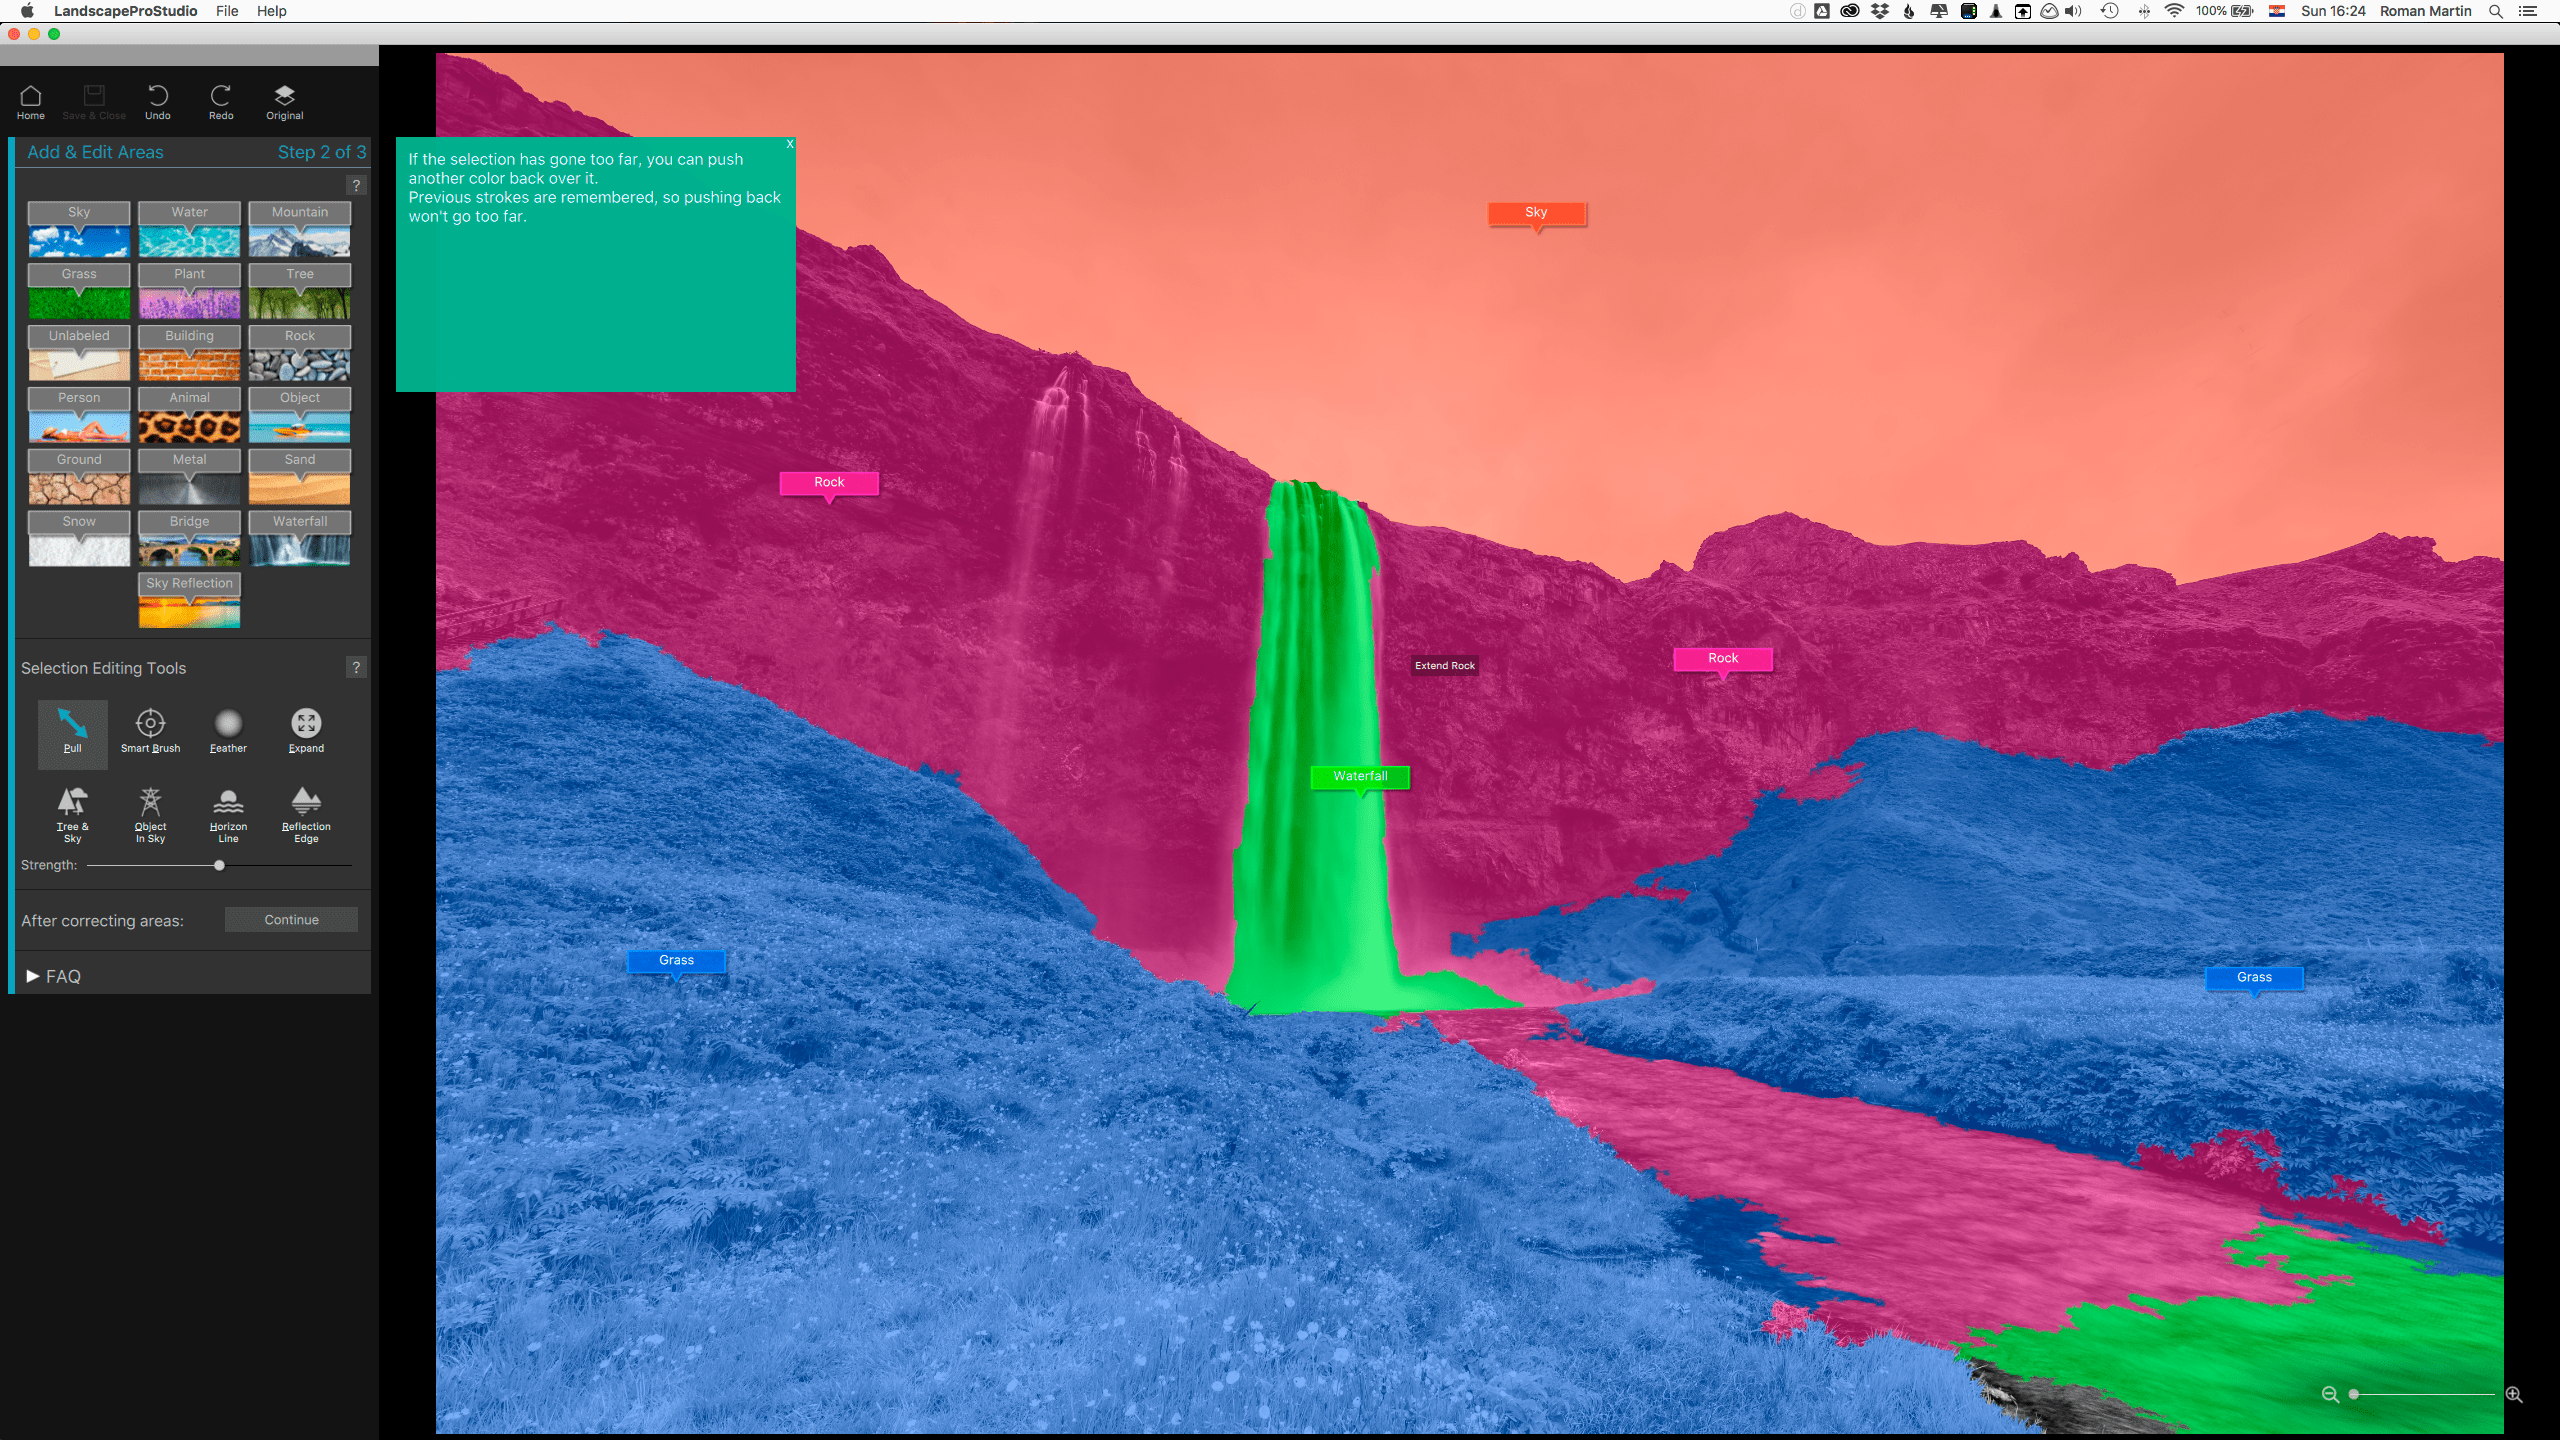
When you view your image in Landscape Pro, you’ll be presented with a completely different set of tools than what you’d be used to. This may be confusing at first, but the software includes ‘tool tips’ as helper notes for every tool that you’d use. Once you get the hang of what each tool does, you can shut off this feature. There is also a great collection of tutorials that you can watch, about all the functions in the software. I’d encourage you to view the videos, as I found them all quite useful.
Still skeptical, I was wondering when I would need to use Landscape Pro. I already felt that my editing workflow was as good as it could get. But the more I thought about it, I realized that sometimes, despite my efforts, I would end up with a photo that I just wasn’t completely happy with. Maybe the sky wasn’t right, or there were some bright lights in it that was too distracting.
It would be in these cases where Landscape Pro would come in handy. My suggestion would be to try several variations and save them, then give yourself some time to think about which one you like more.
Choices vs. Cheating
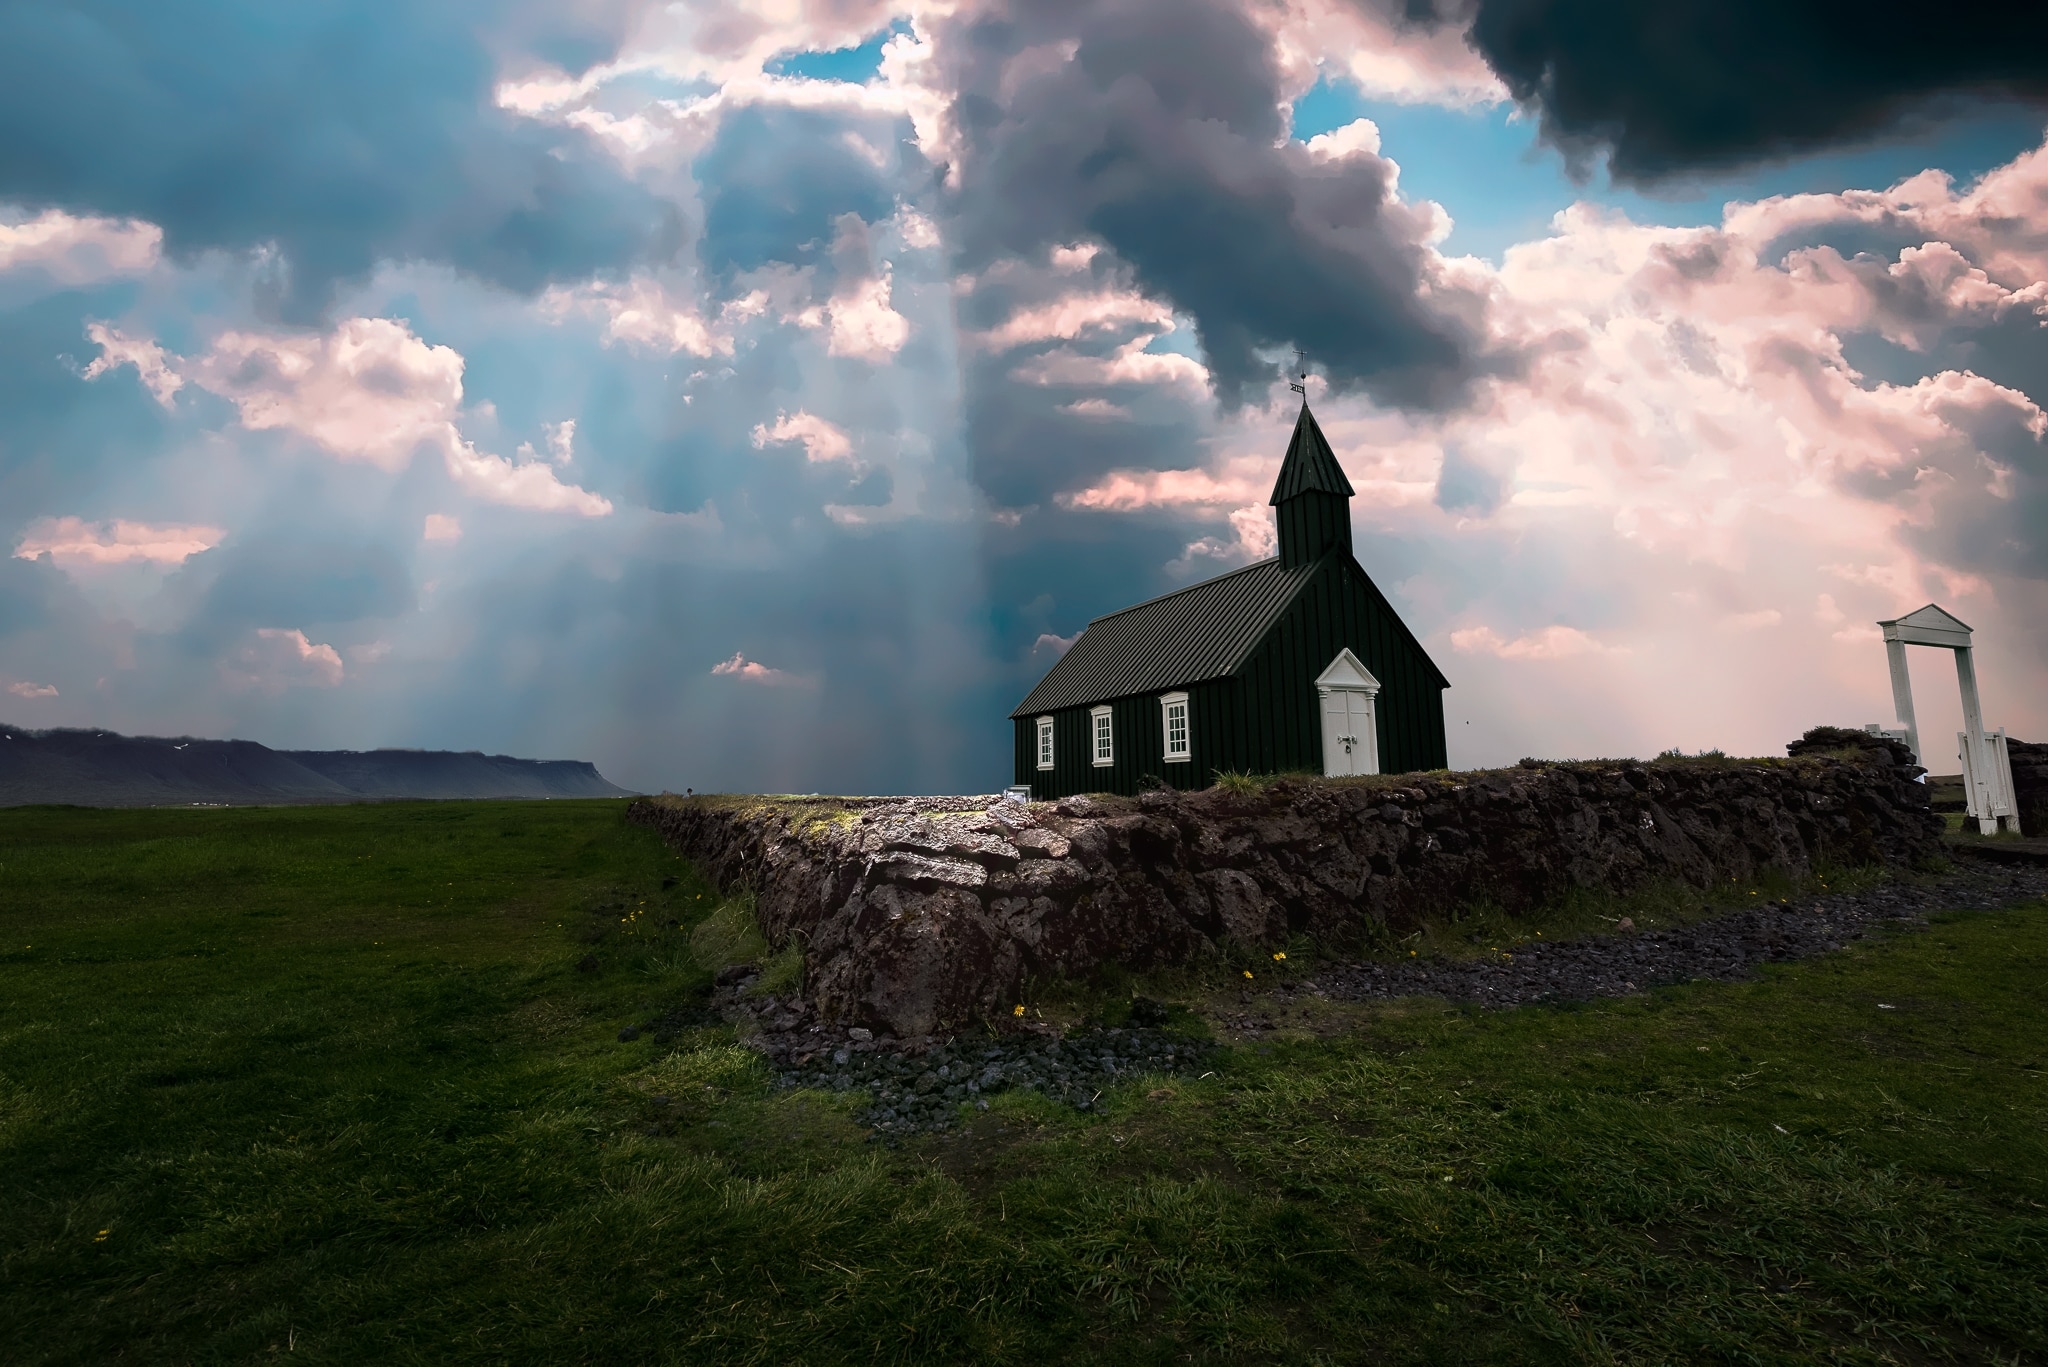
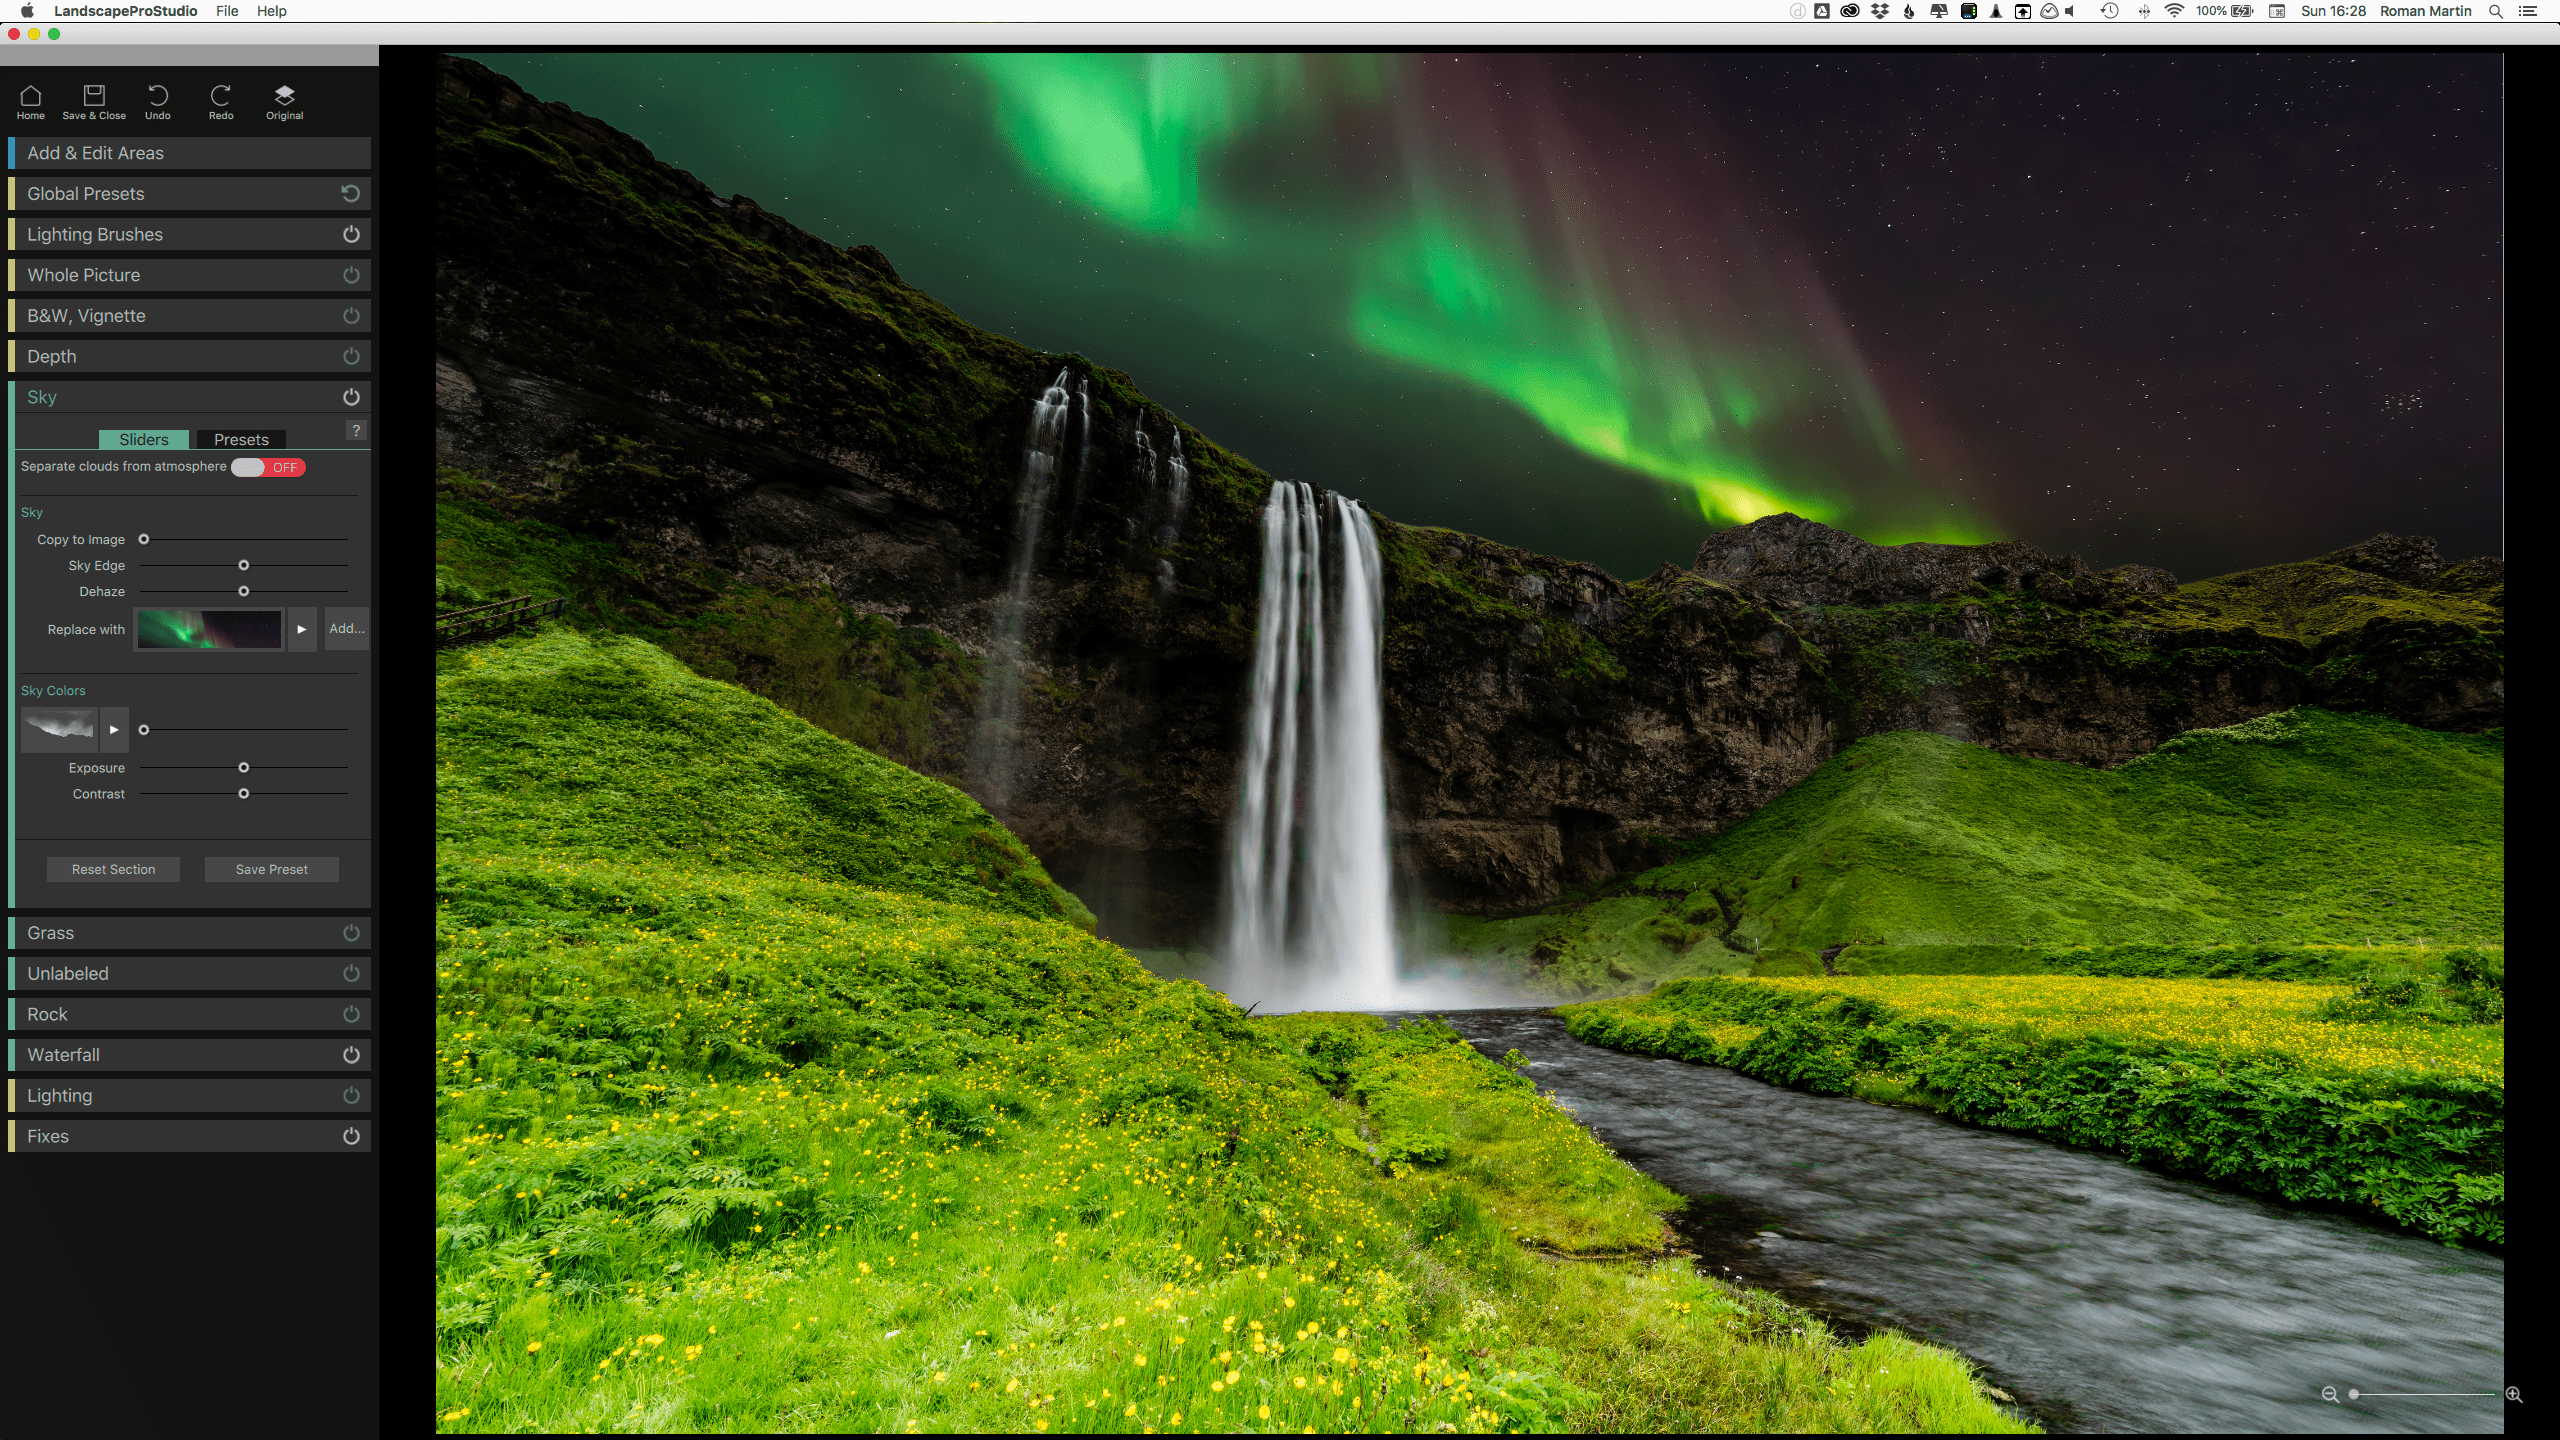
This software will not make you a better photographer. But it will present you with a lot of choices of ways you can make your photos better. For instance, there is a huge collection of different sky presets. These presets can be used to replace the original sky in your photograph. And if you have some photos that you’ve shot with great skies, you can import them for future use.
Some people may consider sky-swapping as cheating, but is it? Blending photos is commonplace these days, and as long as it’s not journalism, it shouldn’t matter. In my experience, getting the perfect sky for your landscape photos can often mean that you have to spend an enormous amount of time waiting for that moment.
Sometimes, I don’t have the luxury or privilege to wait for that perfect moment. On my workshops, I am usually in one location for just one morning, or one afternoon. In these situations, I may have a great image, but I won’t like every part of it. I will know that something could be better. Is it cheating to replace the parts I don’t like? Is it cheating to enhance a photo at all? Maybe that’s a discussion for another blog post. (Be sure to leave your comments below!)
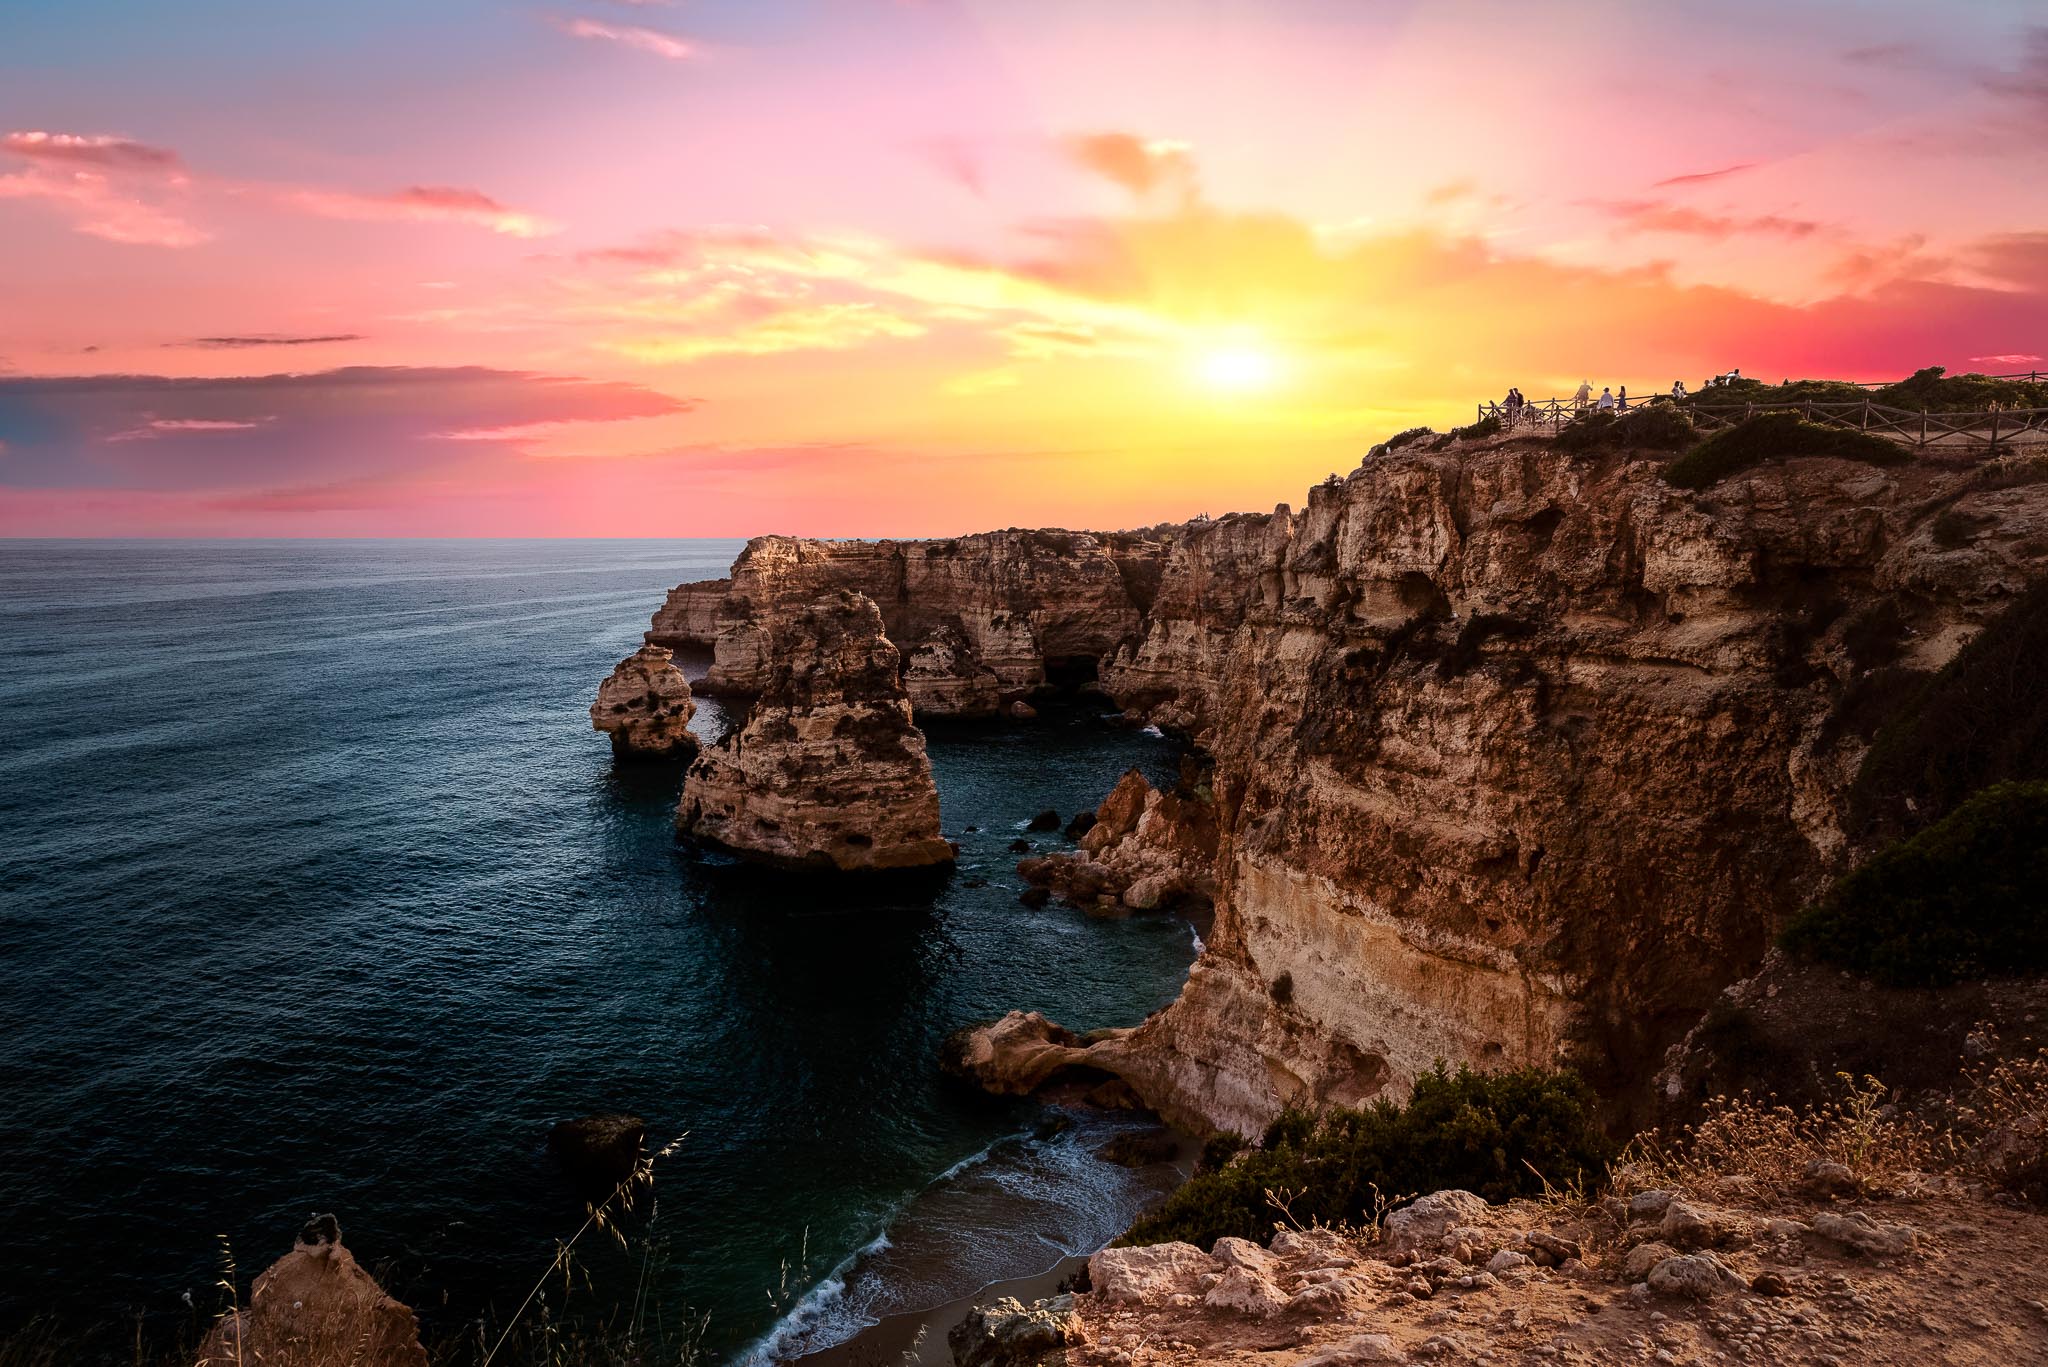
On my wall, I only want to have great shots. So do I delete the almost-great ones? Or do I enhance them? I’ll take the second option, and it’s my job to show you how you can achieve that greatness. This post shows some examples of my work with Landscape Pro, along with what I changed, and the original RAW image.
Conclusion
Thanks to Anthropics Technology for the software, and the opportunity to review it. You can check out their sample gallery here. And finally, here are what I consider to be the Pros and Cons of Landscape Pro.
Pros
- Easy to use, with good tutorials included
- A huge amount of presets and backgrounds
- It’s possible to open from PS, LR and Capture 1
- Easy option to open previous work
- Great tool for masking
- Not expensive
- Cons
- Brushes could be more precise
- There can be lots of white pixels between sections, sky and landscape. (Maybe there’s a solution for this, but I have not found it yet.)
- No direct upload to C1 folder yet – it needs to be done manually




Very interesting and informative blog post, thank you for sharing
Thank you Jasminka!