HOW TO MAKE A PHOTO ESSAY
By Ian Robert Knight
Many people believe the notion that ‘a picture is worth a thousand words’. Or at least, many people repeat the idiom without much thought. The phrase is meant to suggest that one good photograph can explain a story much easier than a thousand words can. This may work out in some cases, but in reality, very few people are able to take just one photograph that says it all. So it’s helpful for photographers to learn how to make a photo essay.
When we read a book, we absorb the building blocks of the story, slowly over the course of the narrative. We eventually understand the characters, their behaviours and actions, the location, the environmental influences, the additional characters that affect the story, and so on. And a good book does this effortlessly, without having to call out the elements directly like “this is the main character, and he lives in this place”. But we get it, just by reading. And as photographers, we can achieve the same results, using our photographs (and sometimes captions).
Whenever I travel to a new place, or even to a place I’ve been to many times, I try to consciously create a series of images that I can group together in an essay later. This isn’t as difficult as it may sound. It just takes a little bit of practice. If you think of yourself as a storyteller, you will have taken the first step forward in the journey to make a good photo essay. Every step after that will get easier – you just need to know what those steps are.
What You Need To Know
It’s important to understand that there is no specific pathway you must walk down to create your photo essay. There isn’t a first photo, second photo, third photo type of routine. You can shoot your story in any order you see fit. The order of the photos can be determined later. You just need to make sure you capture all of the proper types of photographs while you’re there in the field.
The Scene
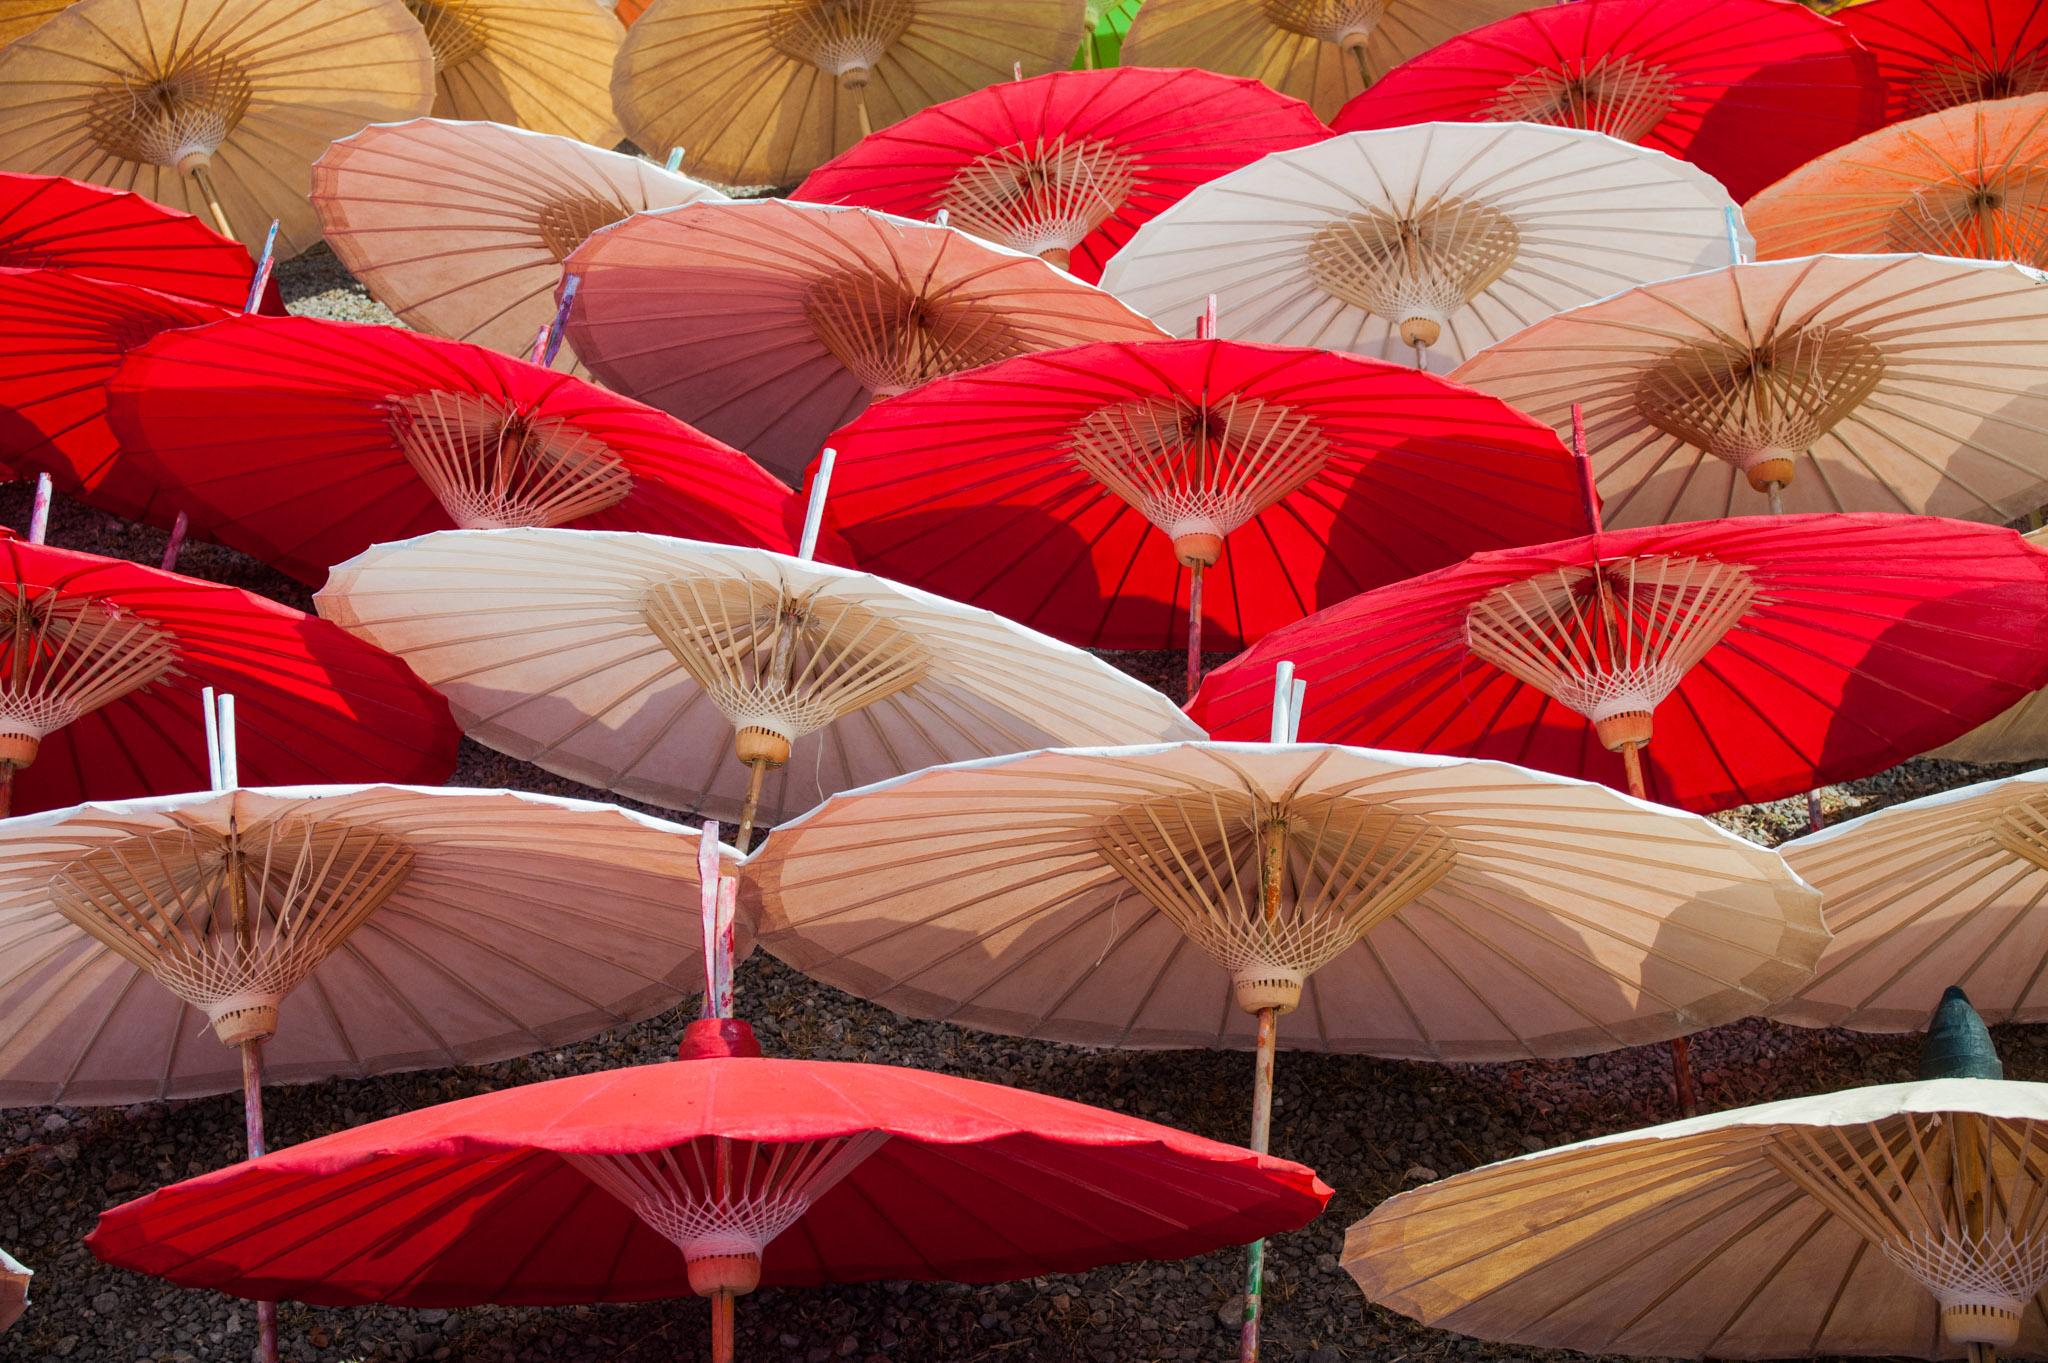
You’ll always need to have a photograph that sets the scene. It will be something that will help the viewer get a sense of what the story is about. For me, this is usually a wide vista photograph that shows the scale of the area I am photographing. But it can also be a bit closer too, especially if you don’t have the space to shoot a wide vista. And it can be more than just one photograph, as long as it helps identify where the story is happening, and a hint of what it’s about.
Mid-range shots
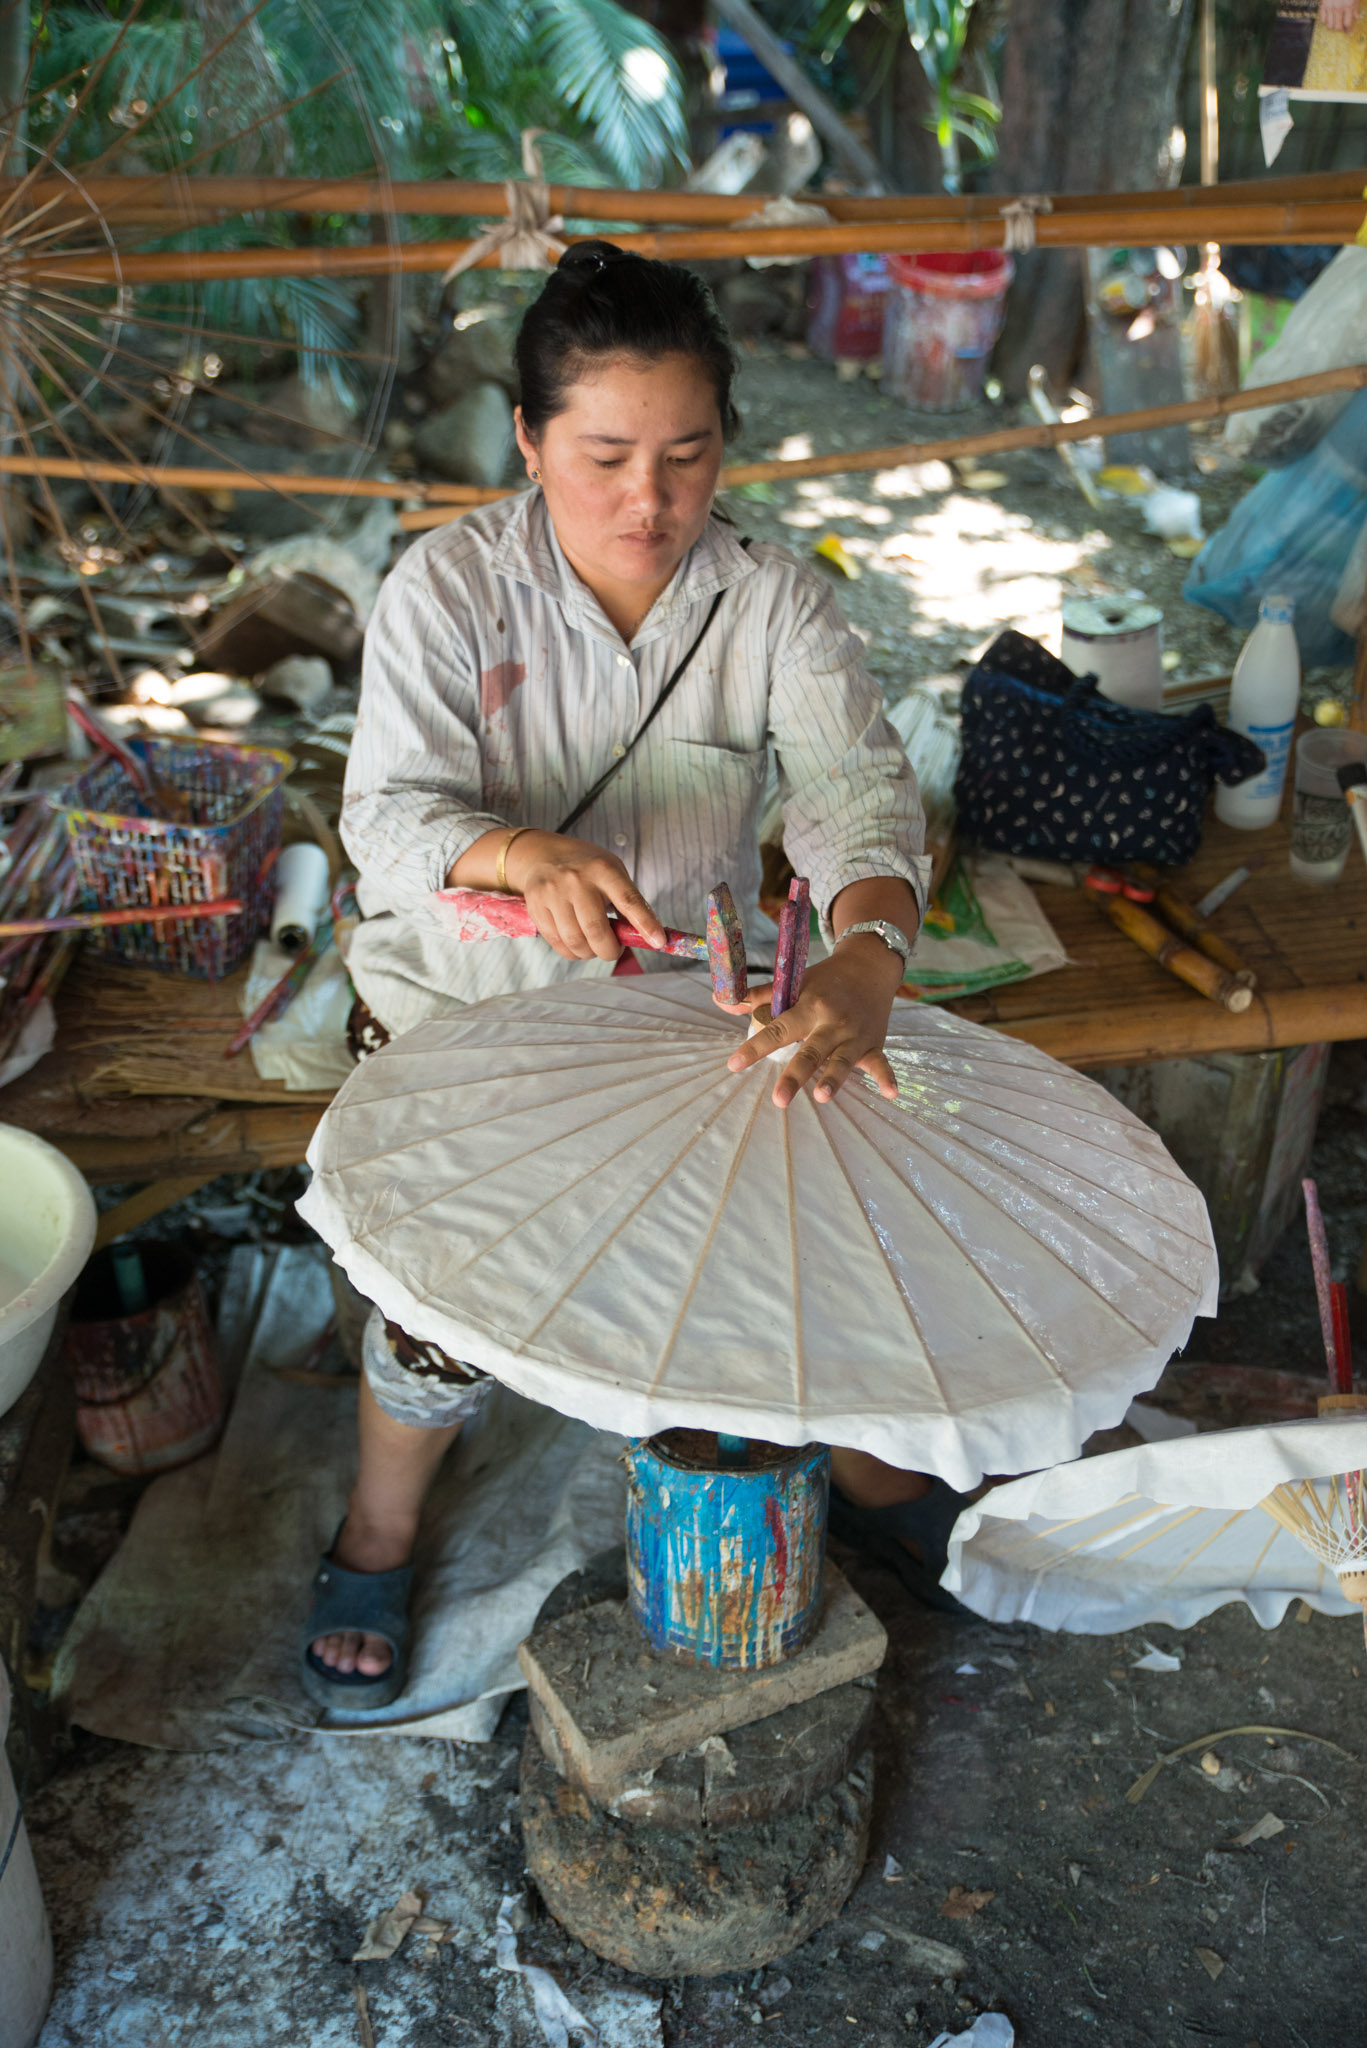
This image would be closer than the Scene Shot, but still a respectable distance. If there are people in the story, then they would be completely visible from head to toe – that’s how far back you’d be. The point of this image is to provide some more context about the story, and the people included. If there were specific types of clothing they wore, like ethnical costumes, this shot would help establish that characteristic.
Portraits
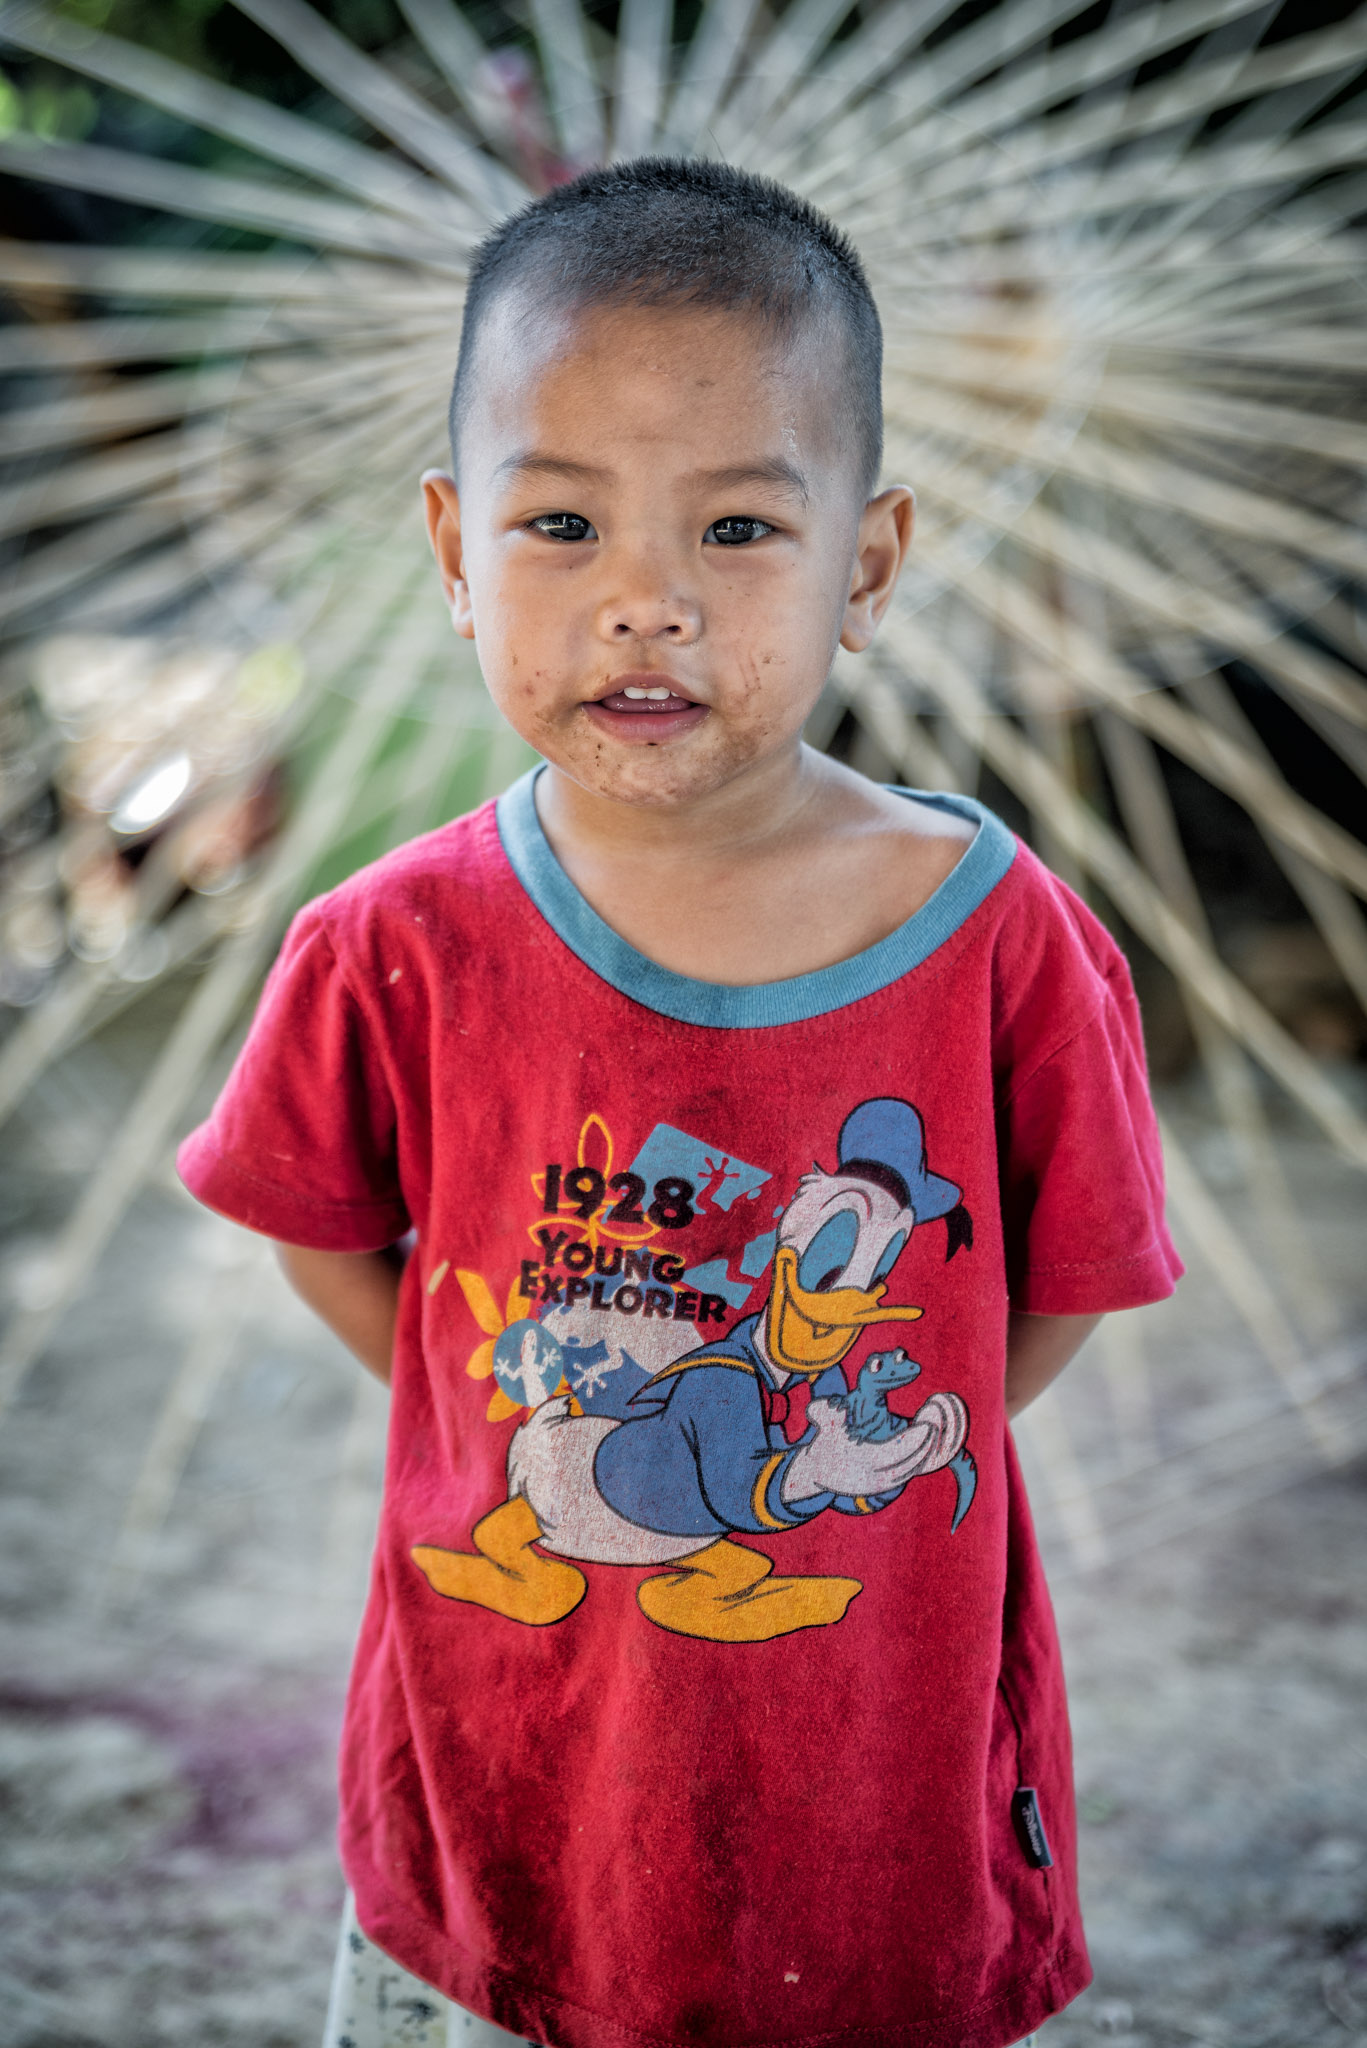
Assuming you’re not shooting landscapes, there are almost always people in the photographs. As viewers, we connect the strongest to the people in the images, more so than the background or environment. This is your chance to capture one or two characters’ portraits to really get close to the story. Ideally, the subject would participate in the portrait and look at the camera in order to really connect with the viewer. But if that were not possible, even a candid portrait would be good to have. And if there are no people in your story, it helps to think of your actual subject matter as an individual and create its ‘portrait’.
Details
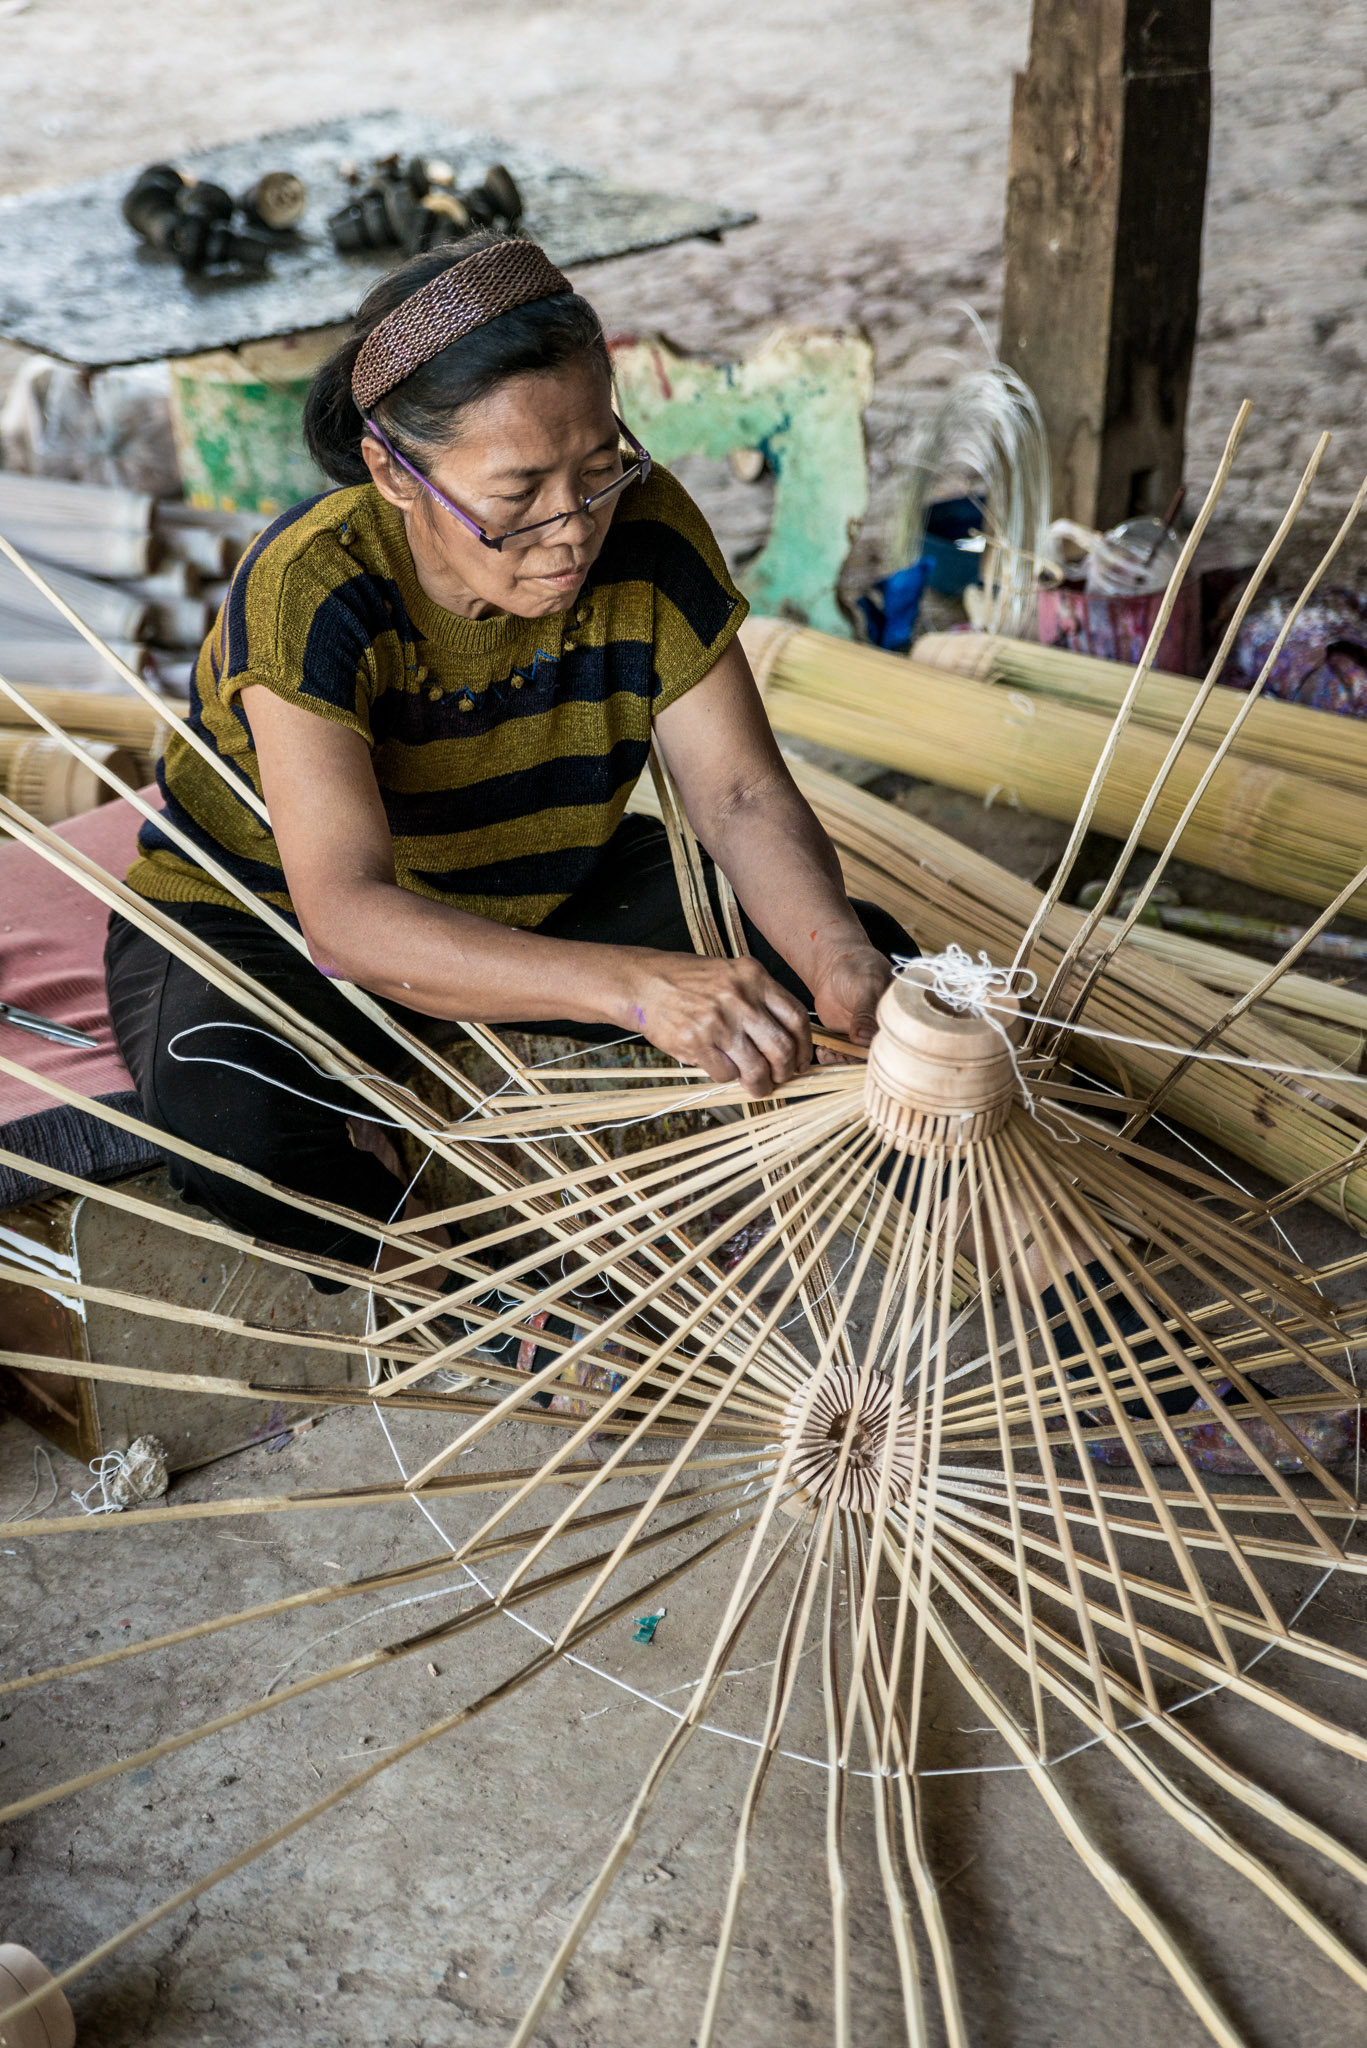
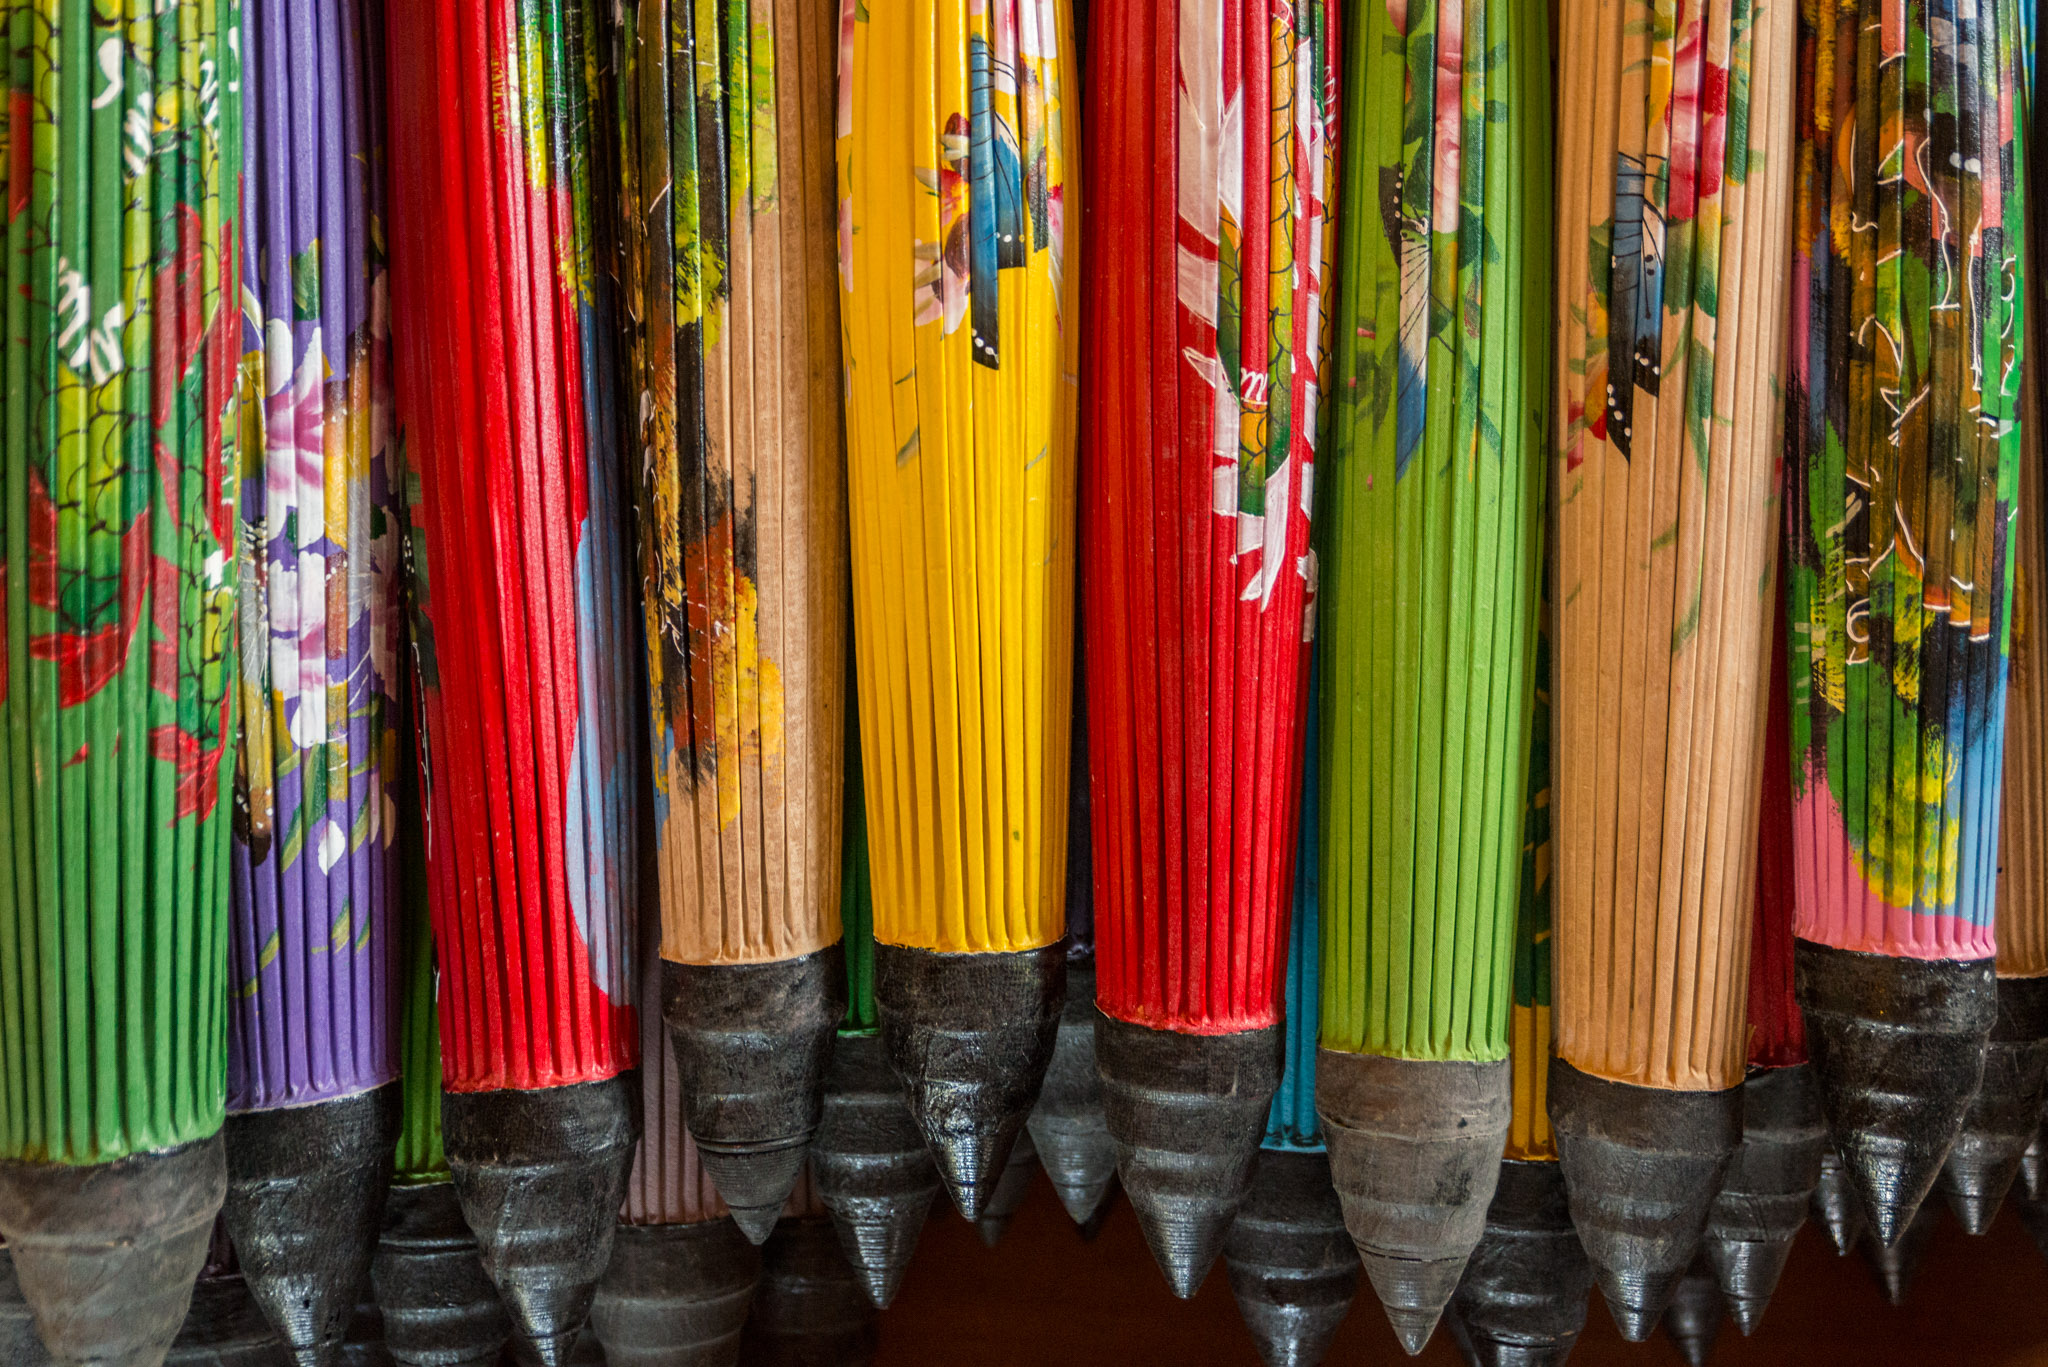
As the photographer, we have the privilege of being close to the subject matter. We get to see the small details that are important. We can see the beadwork on the jacket, or the wrinkles on the skin. So photograph that for your viewer too. Show the details that caught your attention.
Action Shots
Very often there is some activity that we witness when we’re at the scene. It’s probably what brought us there in the first place. So that should be photographed too. You don’t need to be a sports photographer to capture a good action shot. It can even be blurry and still provide the right idea.
Different viewpoints
If you’re able to, it’s also a good idea to try to see things from different angles. Most often, we are going places that have been photographed millions of times by other photographers, so it helps to find a fresh viewpoint. Get low to the ground, or high up, or shoot through screens or windows. And don’t forget to look behind you as you walk away. Very often the view is completely different from the opposite direction.
Final shot
Try to end your photo essay on a strong note. Leave your viewer with a memorable image that makes them want to know more, or wants them to ask questions. Maybe those “thousand words” aren’t meant to be what the photograph says. Maybe those thousand words are the questions your viewer will ask you, after your photo essay has moved their emotions.
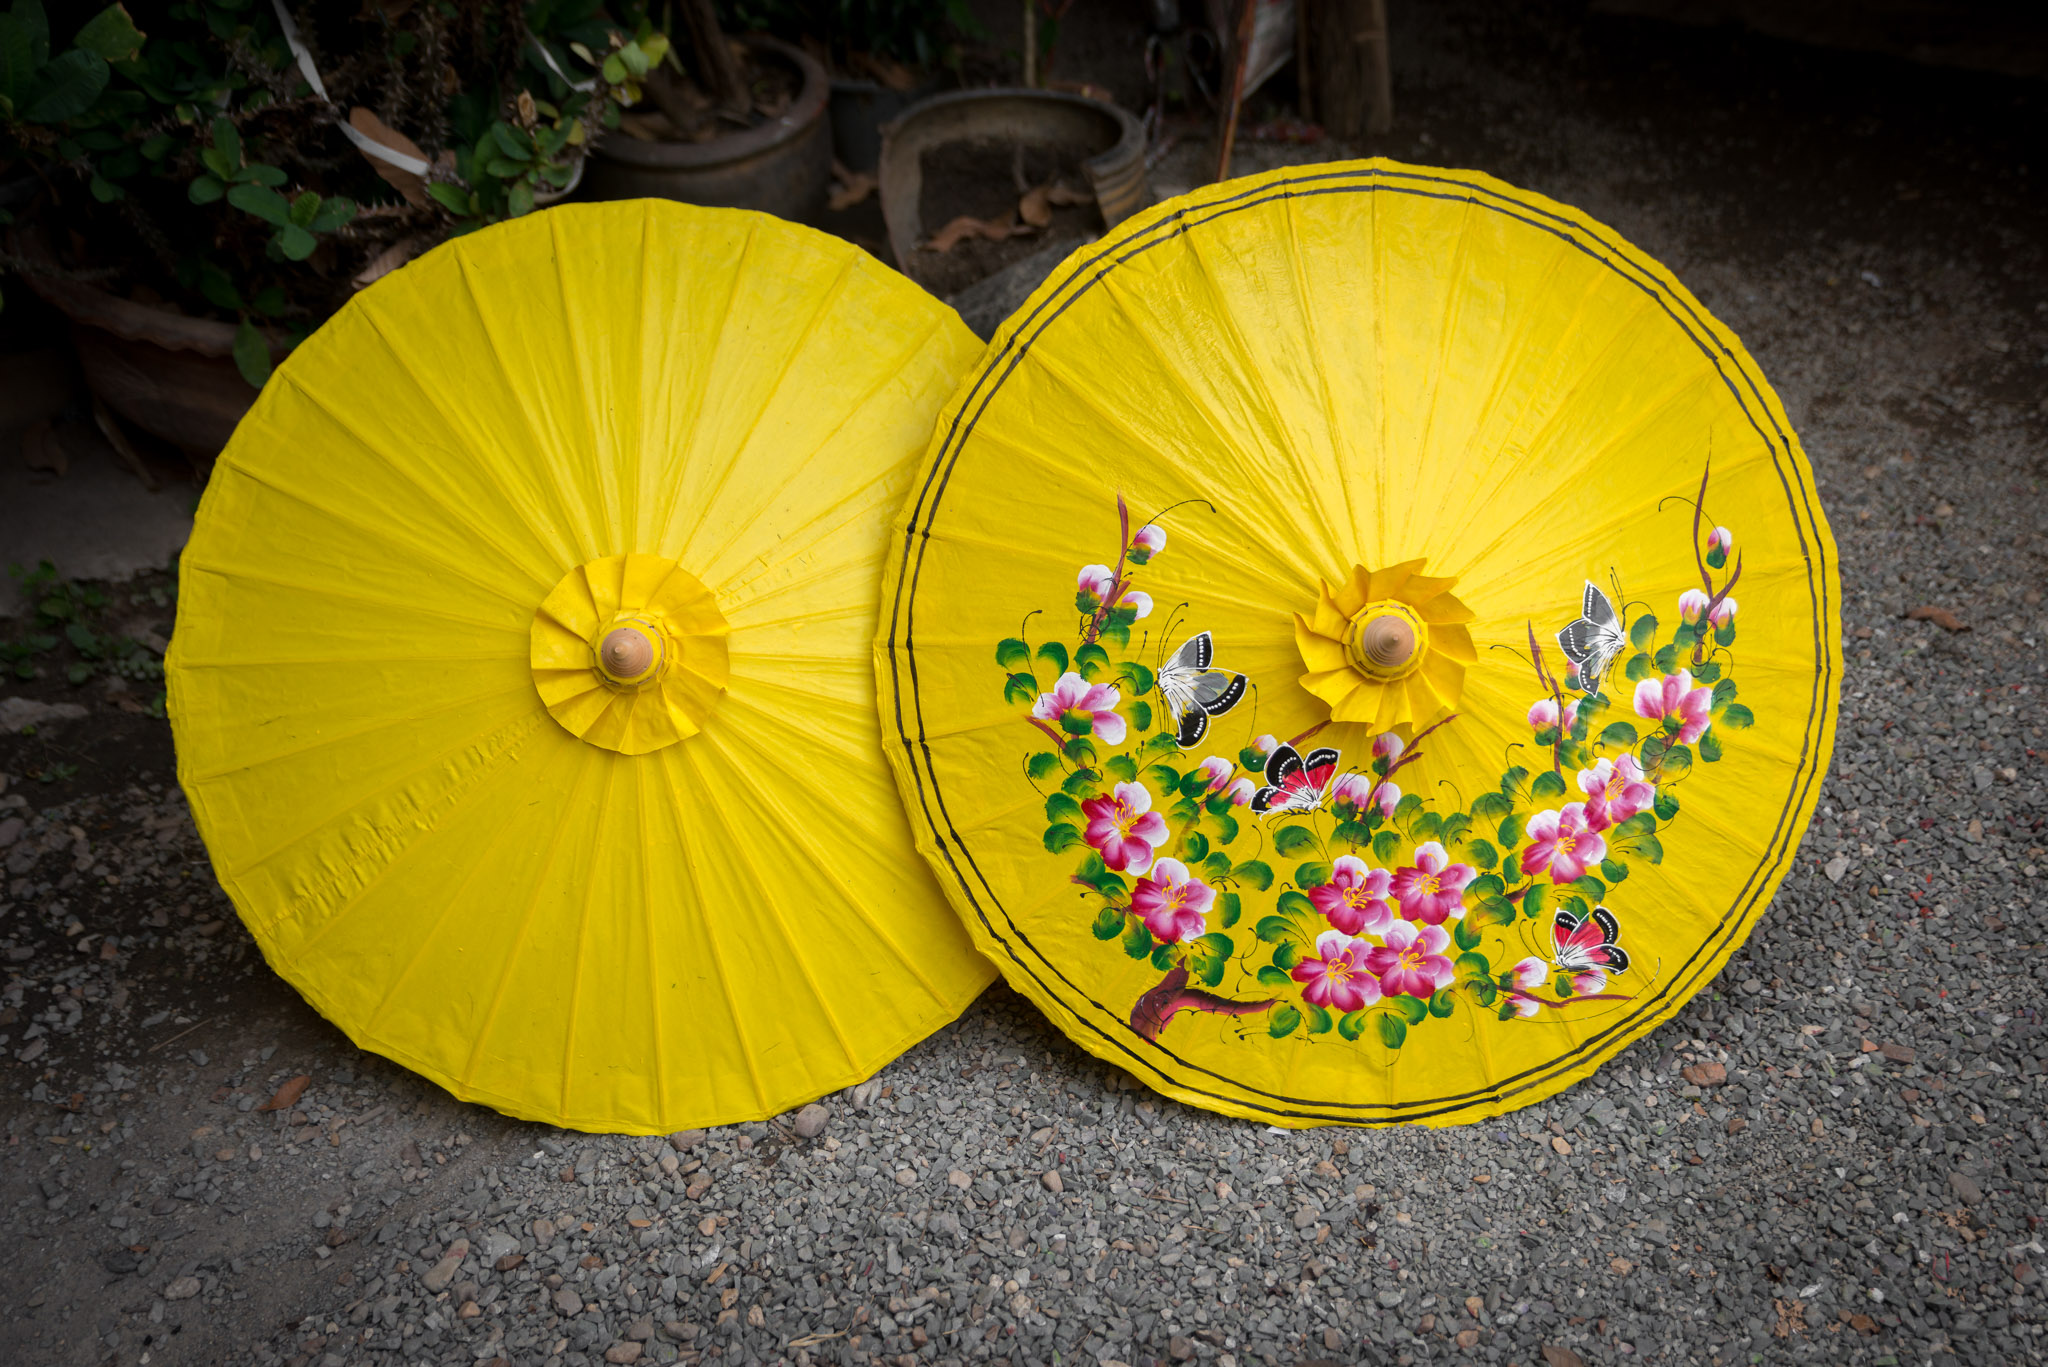
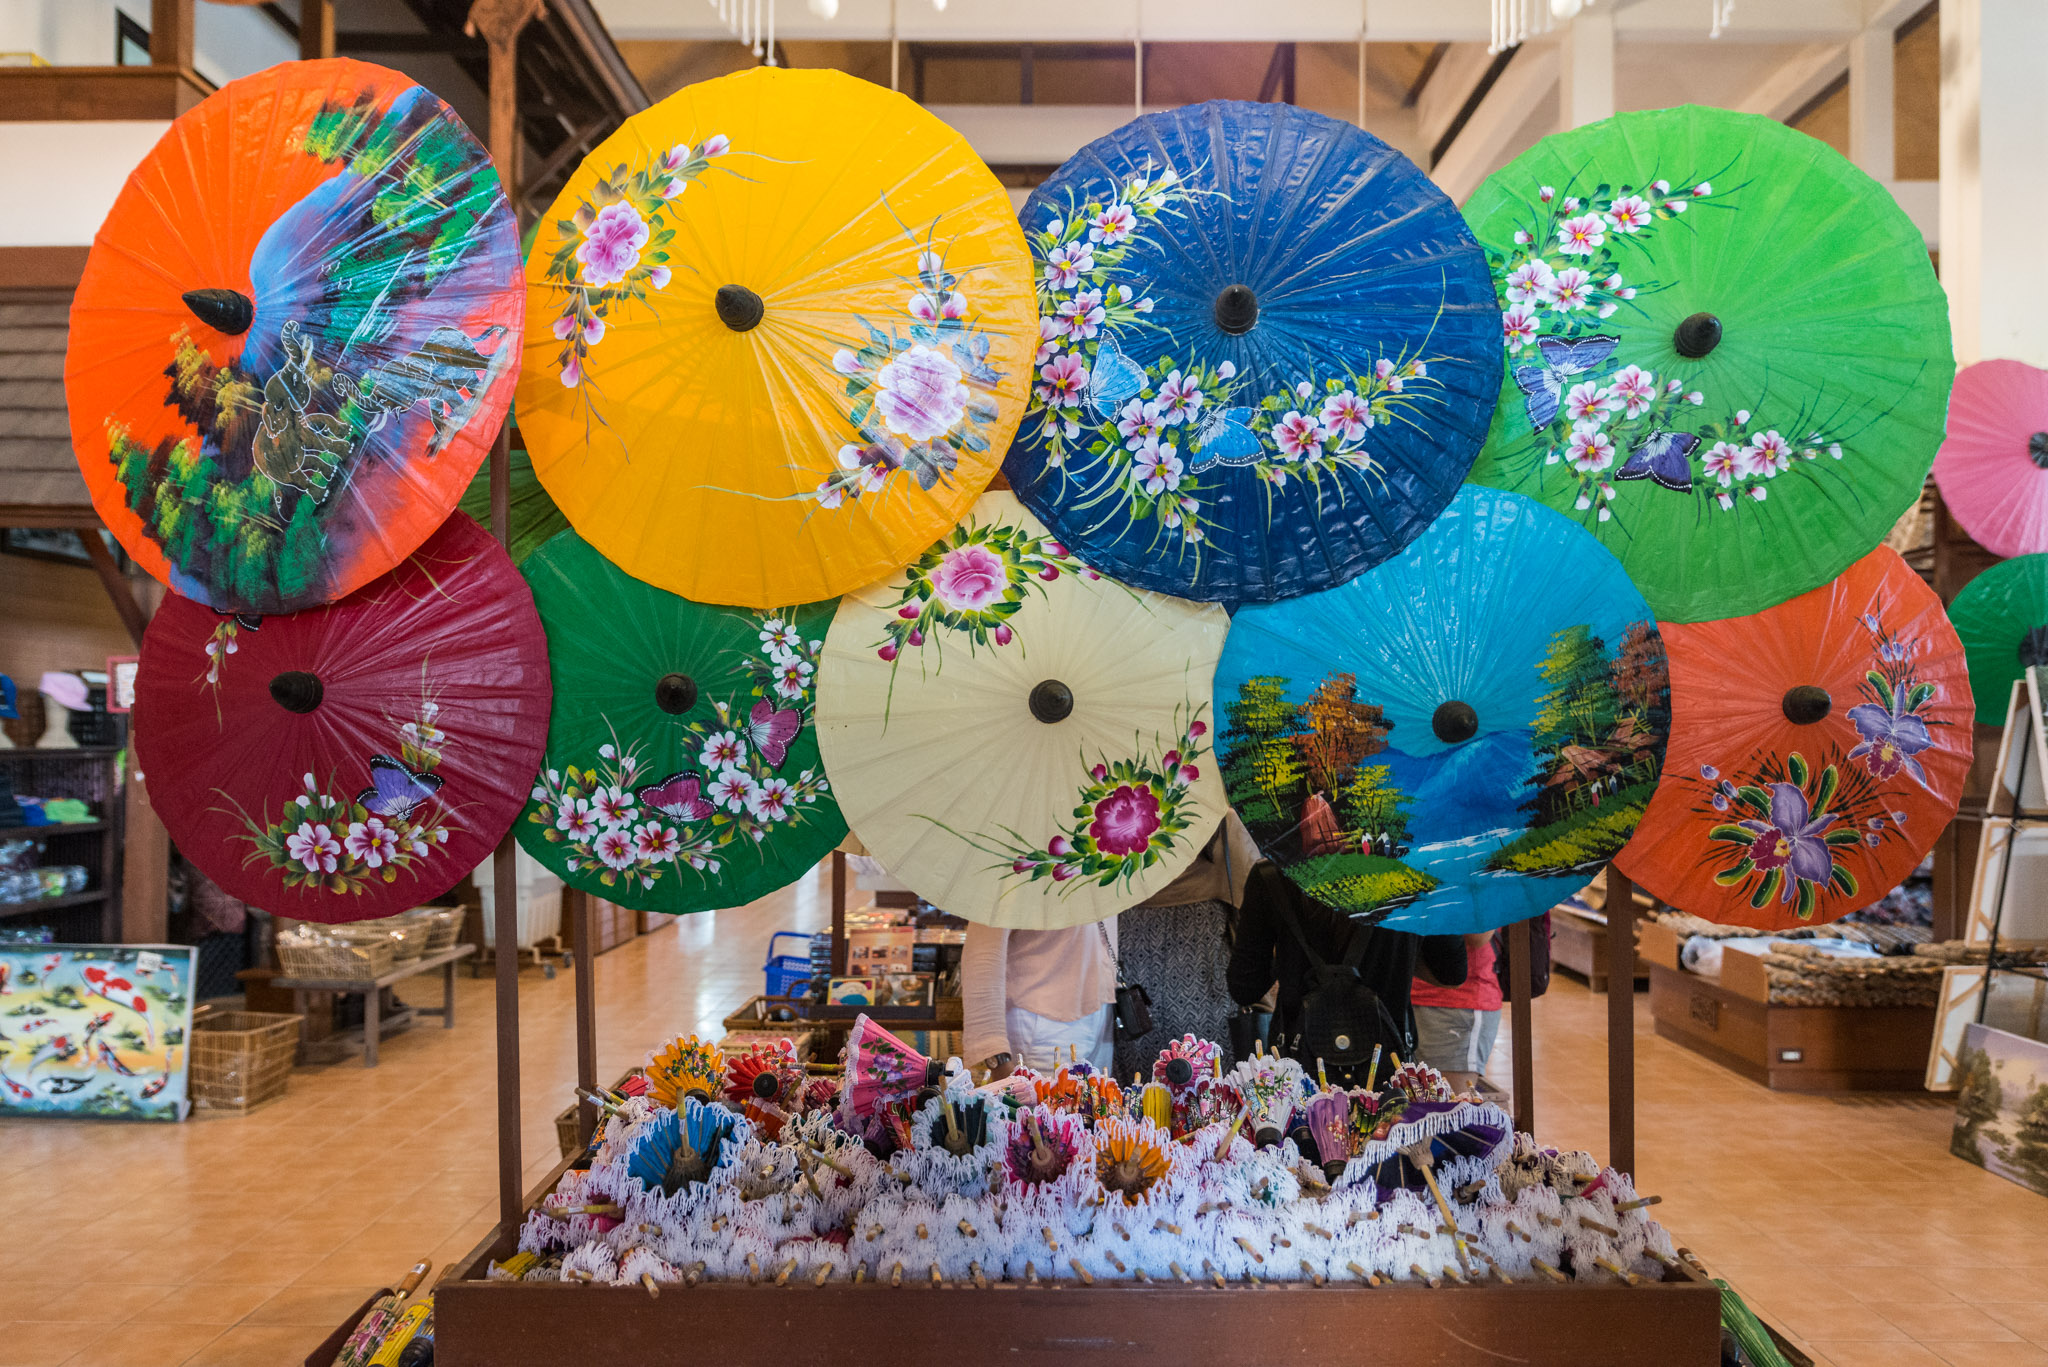
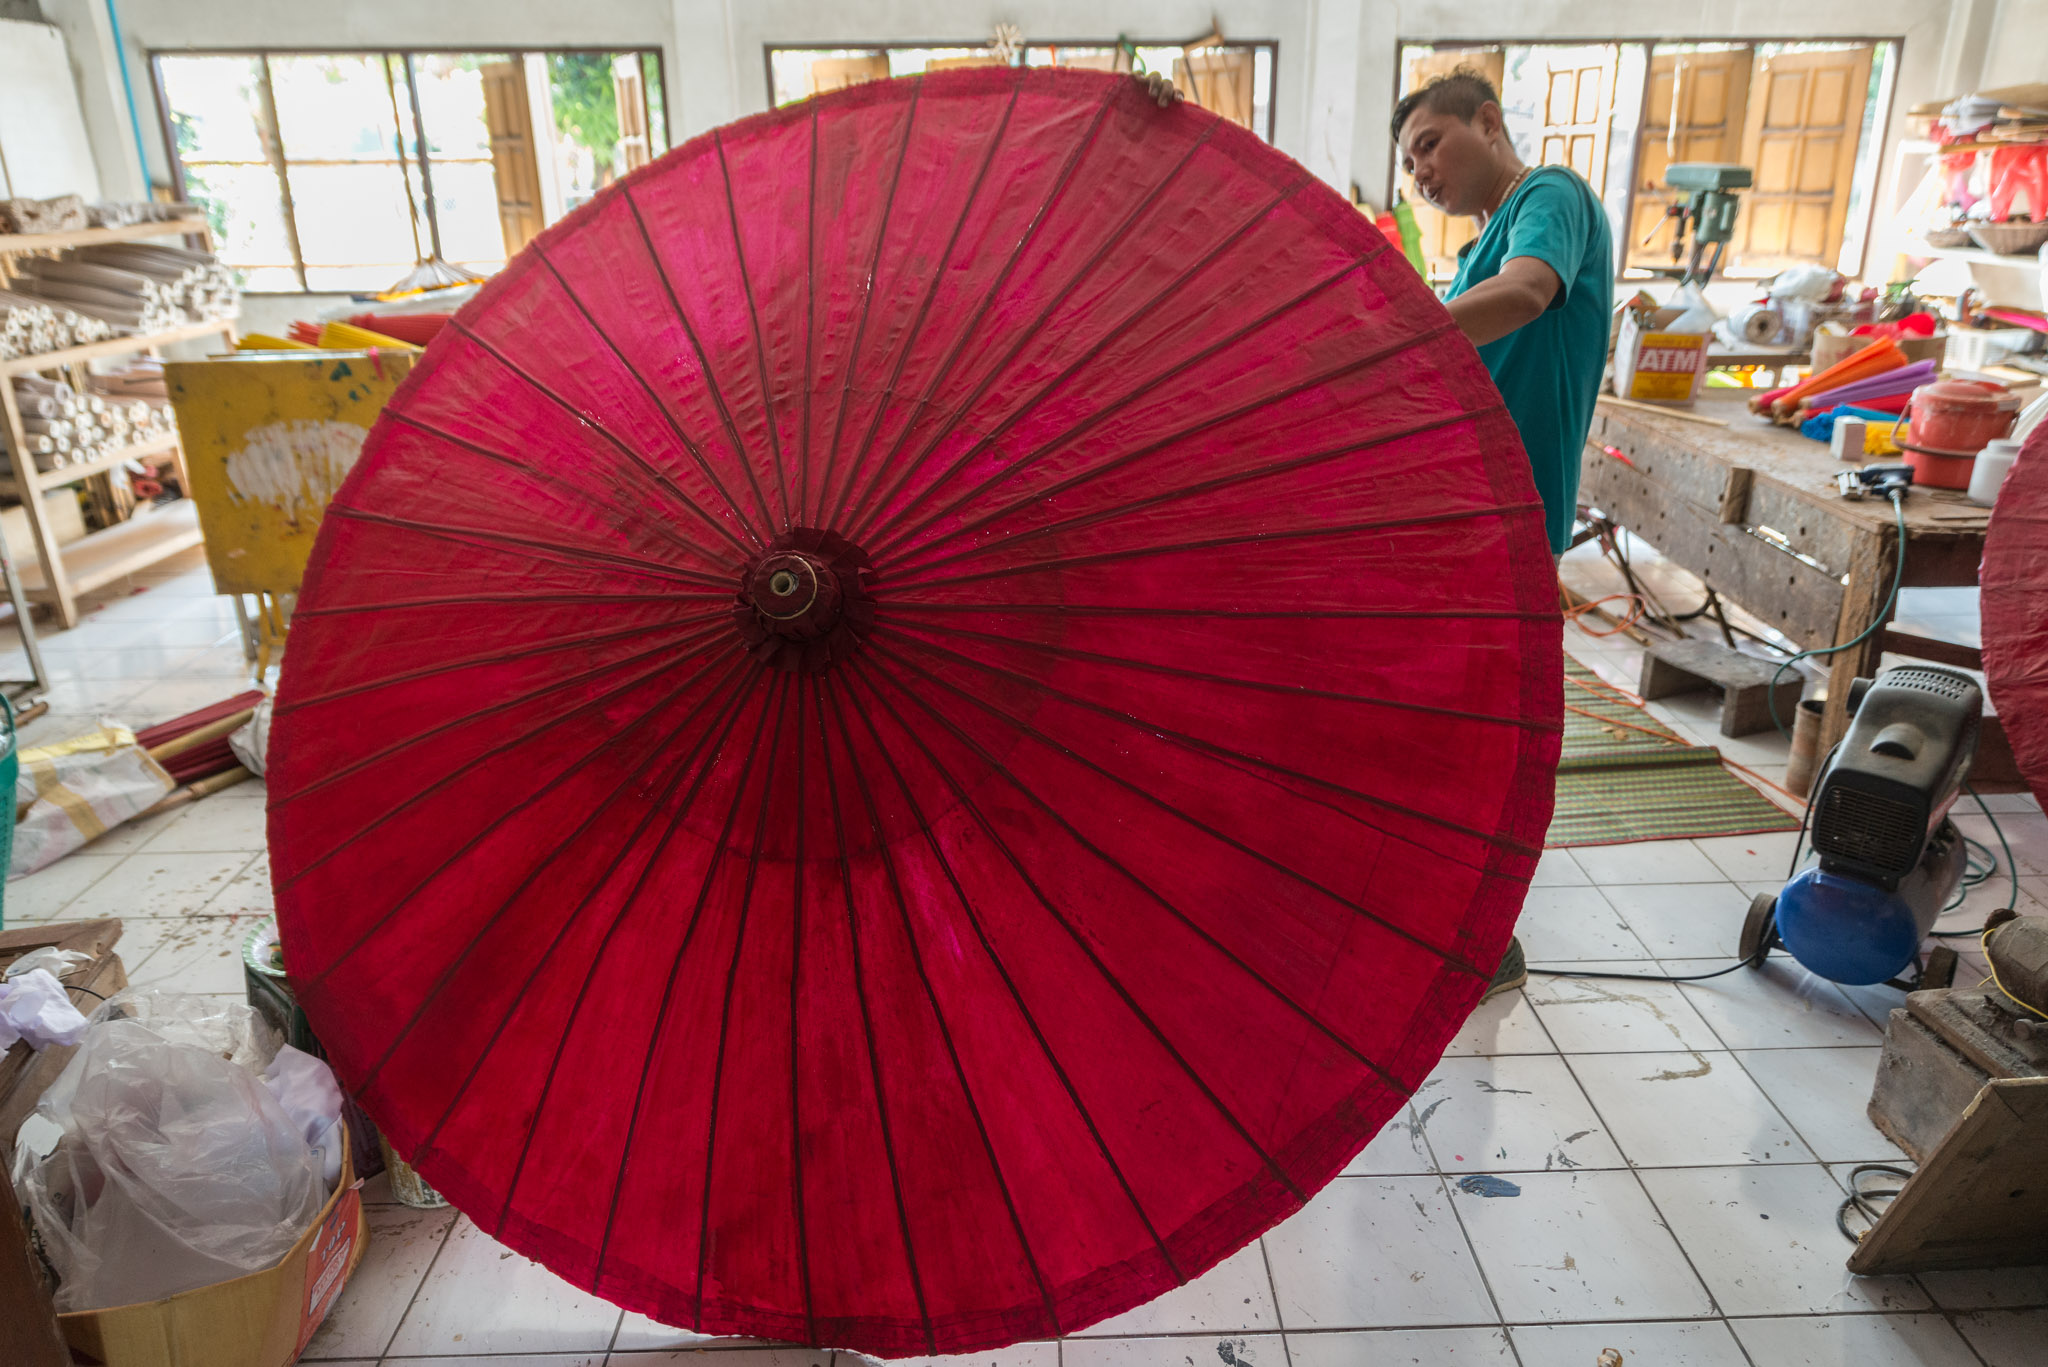
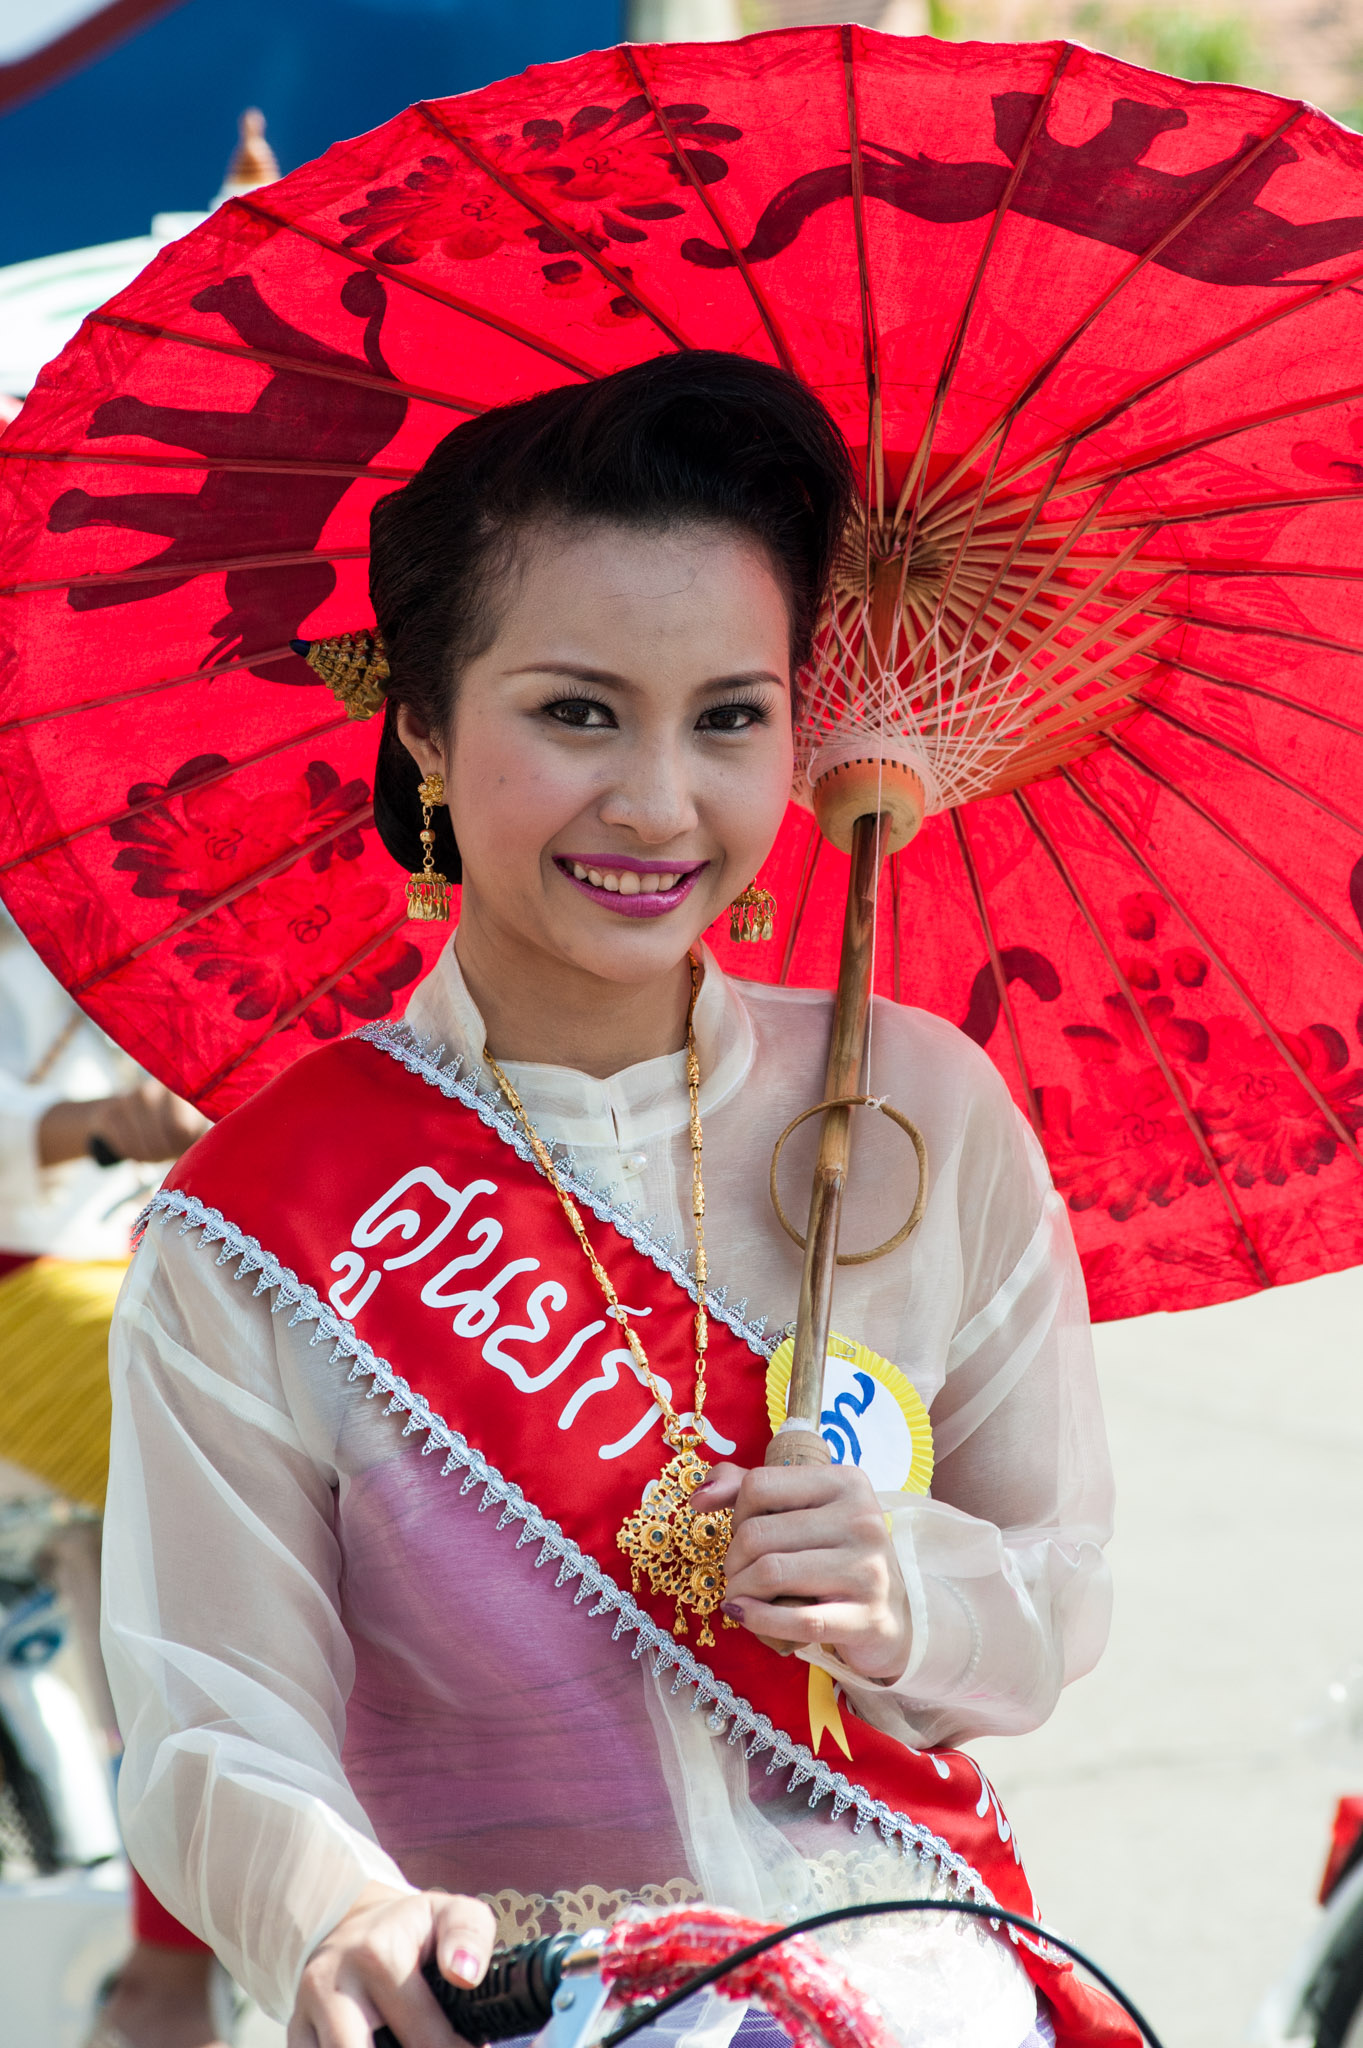
All of these photos were taken in Bo Sang, a small village not far from Chiang Mai in northern Thailand. Bo Sang is famous for its umbrellas, and the artisans who make them. We visit these small umbrella shops when we visit Thailand. Join us there for a fascinating look at this centuries-old technique.
For another great take on telling stories in your photos, be sure to read Kelly Marley’s post about that very subject! Let us know your thoughts on how you approach story telling, by commenting below.






Thanks for the advice
I started taking pictures twice with a film camera, but every time I stopped
Lacked confidence in what and how to do
Your advice has inspired hope in me